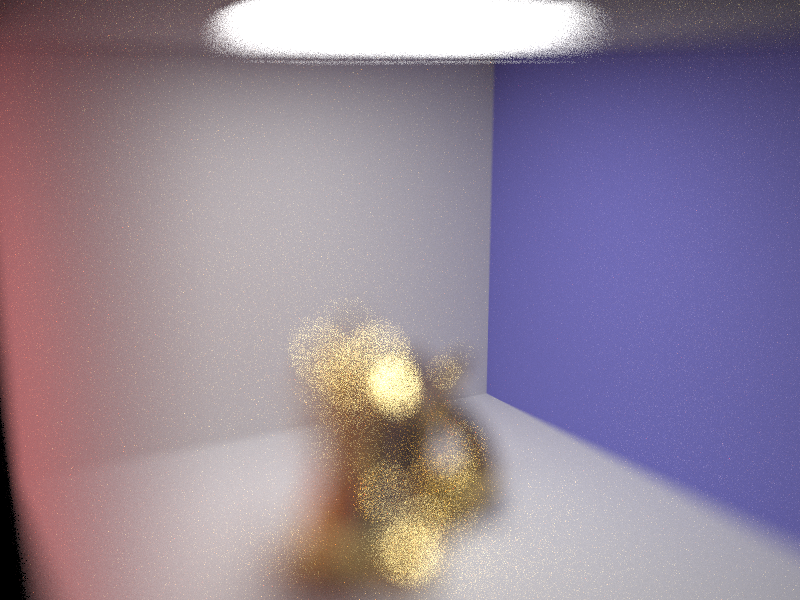
Project 3-2: PathTracer
This project was an extension to the ray tracer project adding more complex stuff like the bsdf - using other materials for the objects in which we had to deal with reflection, refraction and such. Not only that, we added importance sampling rather than uniform sampling to make the convergence faster. Third part was to add in a static background (environment .exr files) and account for the lights from the environment in getting the lighting correct for the objects. Finally, we added in thin lens to create depth of field, focusing on a specific plane.
Part 1: Mirror and Glass Materials
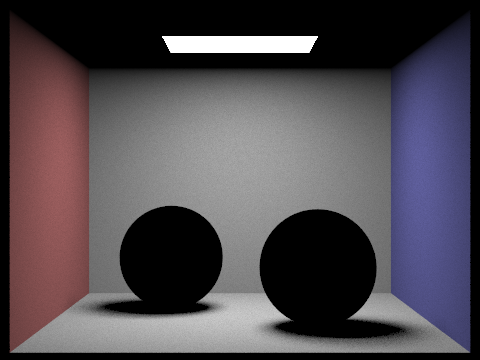
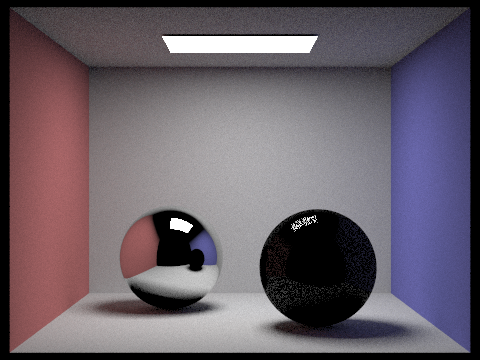
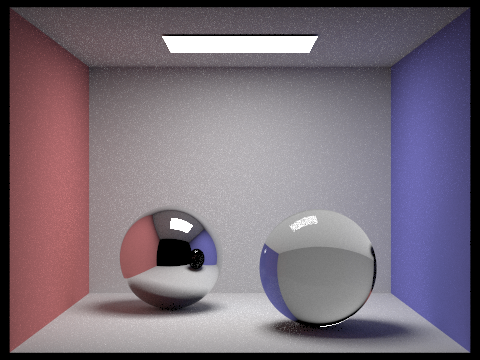
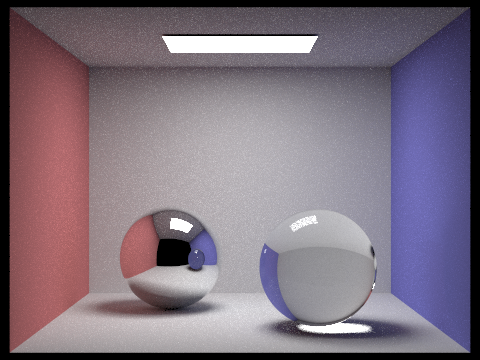
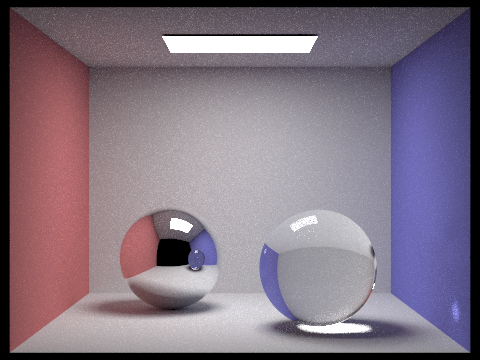
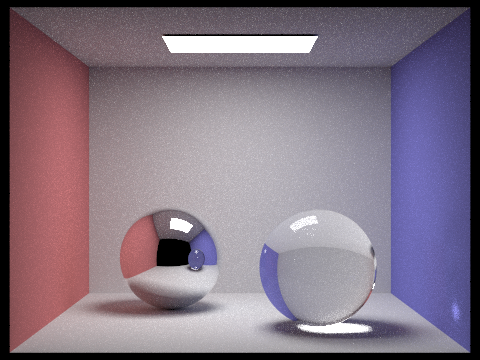
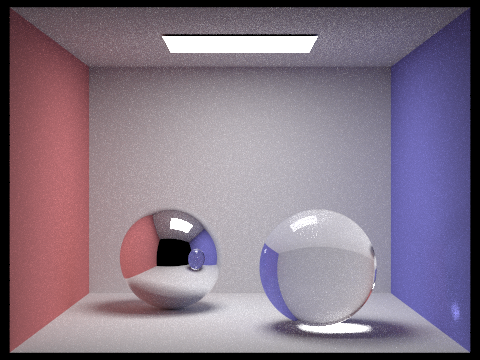
This part was to see increase in max depth of bounces and see what the result would be on the image. When the bounce is zero, then we only account for the direct lights in which case spheres are just black because they need at least two lights to see the result - for example, reflection needs the lights from others to hit the surface of the sphere. So when the depth is 1, mirror shows the reflection while he glass one is dark because it only shows reflection and refraction is yet to hit the sphere. But you can also notice how mirror has a black sphere inside because it has yet to hit the mirror one. So the second depth shows the previous glass sphere in the reflected sphere of mirror while the glass one becomes true itself properly refracting light. One thing to note is that for depth 3, you can see light appear in the floor below the glass sphere which also lights up the surface of the glass sphere on the next depth. Fourth depth is where we can see light refracting from glass hitting the blue wall. Beyond that depth, it is almost the same until the 100th one which is the fuly converged image.
|
|
|
|
|
|
|
Part 2: Microfacet Material
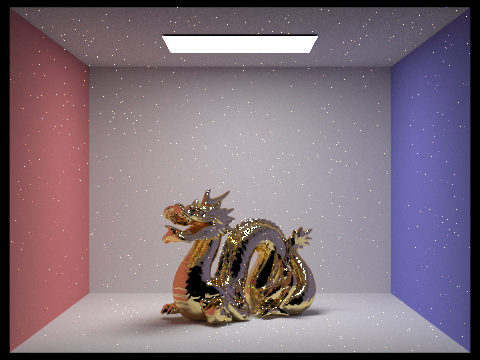
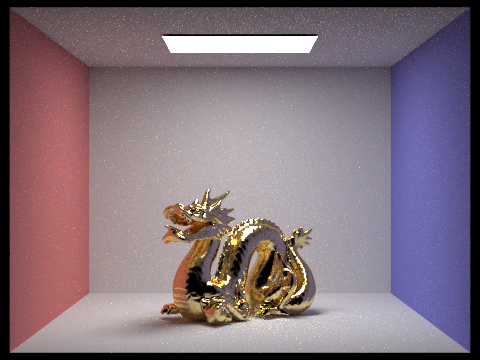
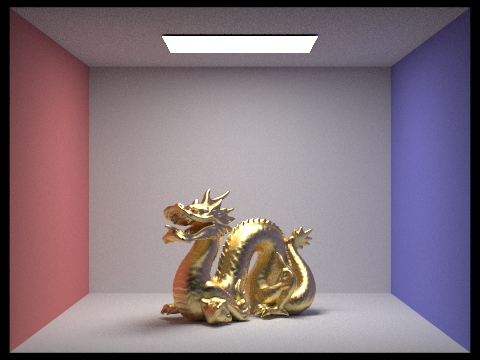
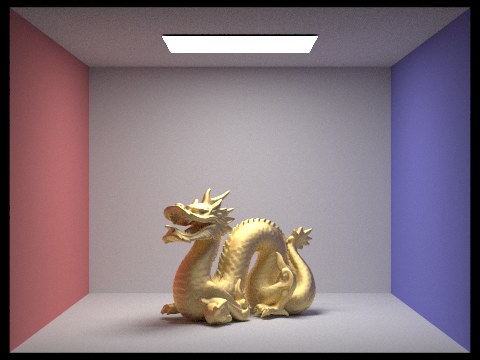
For lower roughness (alpha), you're expected to see more noise at the same sampling rate with high roughness. That's why there are a lot of white dots everywhere. You can see that as you go up the alpha, the surface gets really smooth and there is no noise visible.
|
|
|
|
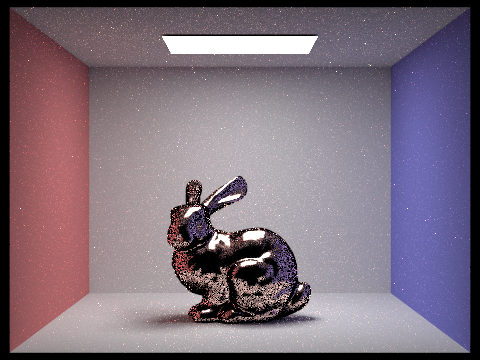
Much more noise when the bunny is used with cosine sampling especially since it's slow at hitting the right point when it's compared at the same sampling rate since you are guaranteed to get less variance with importance sampling.
|
|
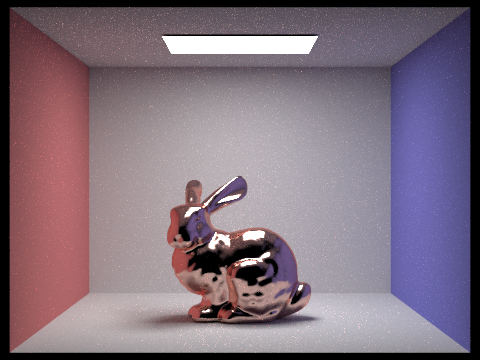
I picked silicon (.614: 3.9186 0.023600; .549: 4.0903 0.041535; .466: 4.5288 0.11463) where each one is R, G, B respectively and the first value corresponds to eta and the second one is k. )
|
|
Part 3: Environment Light
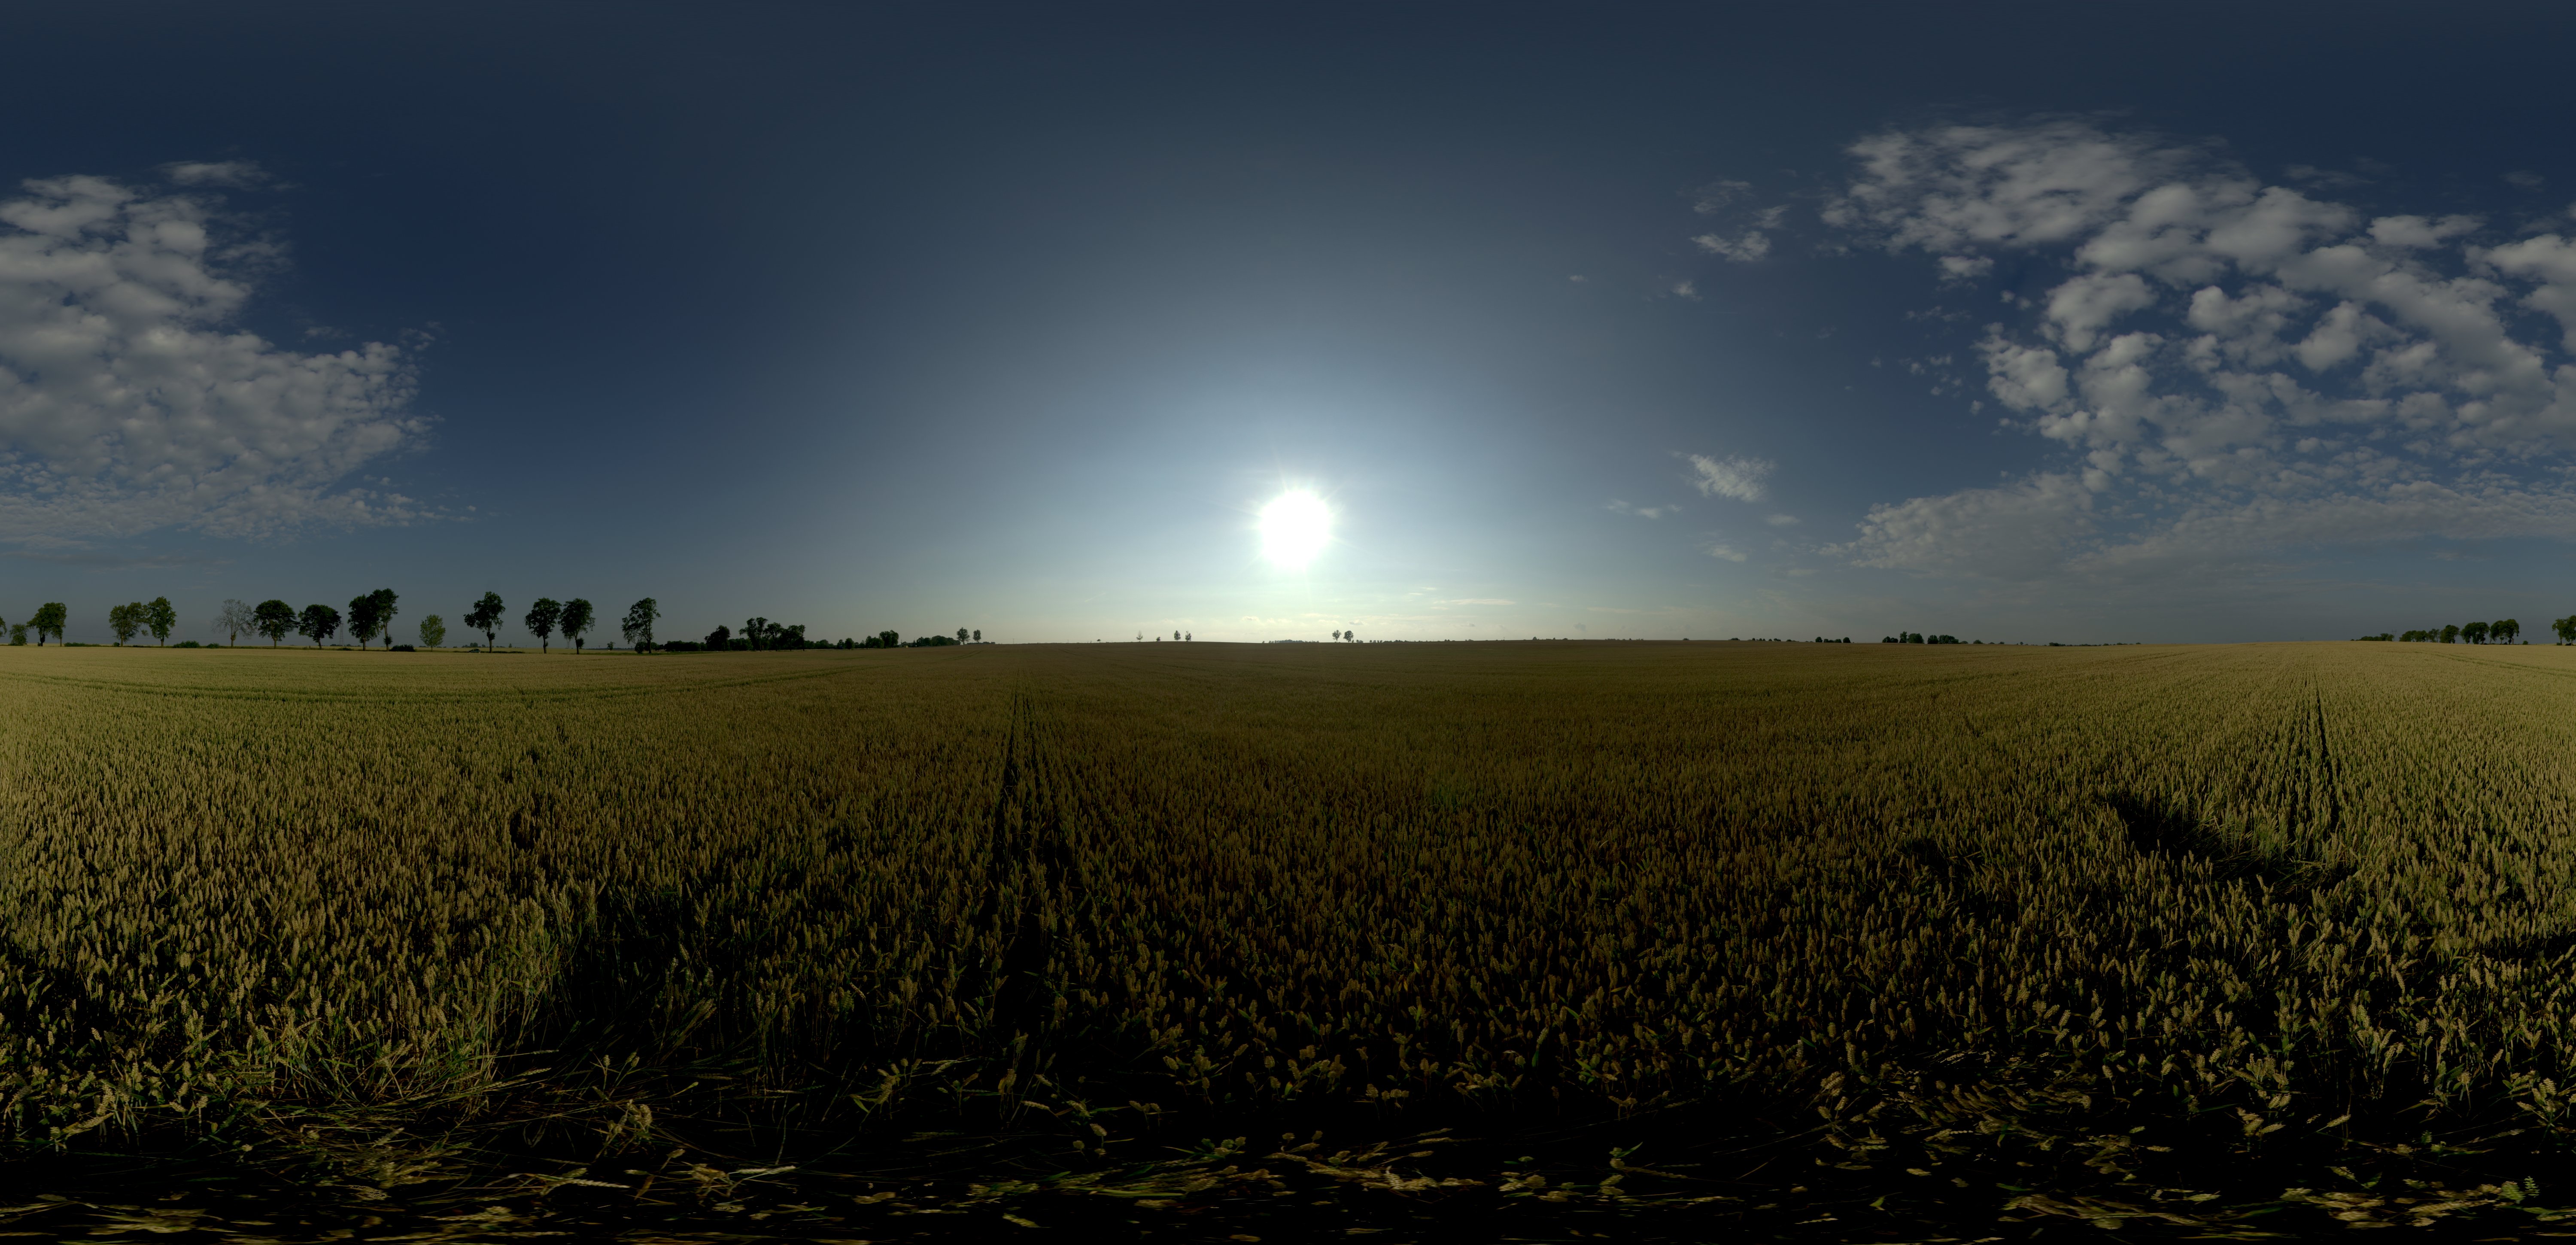
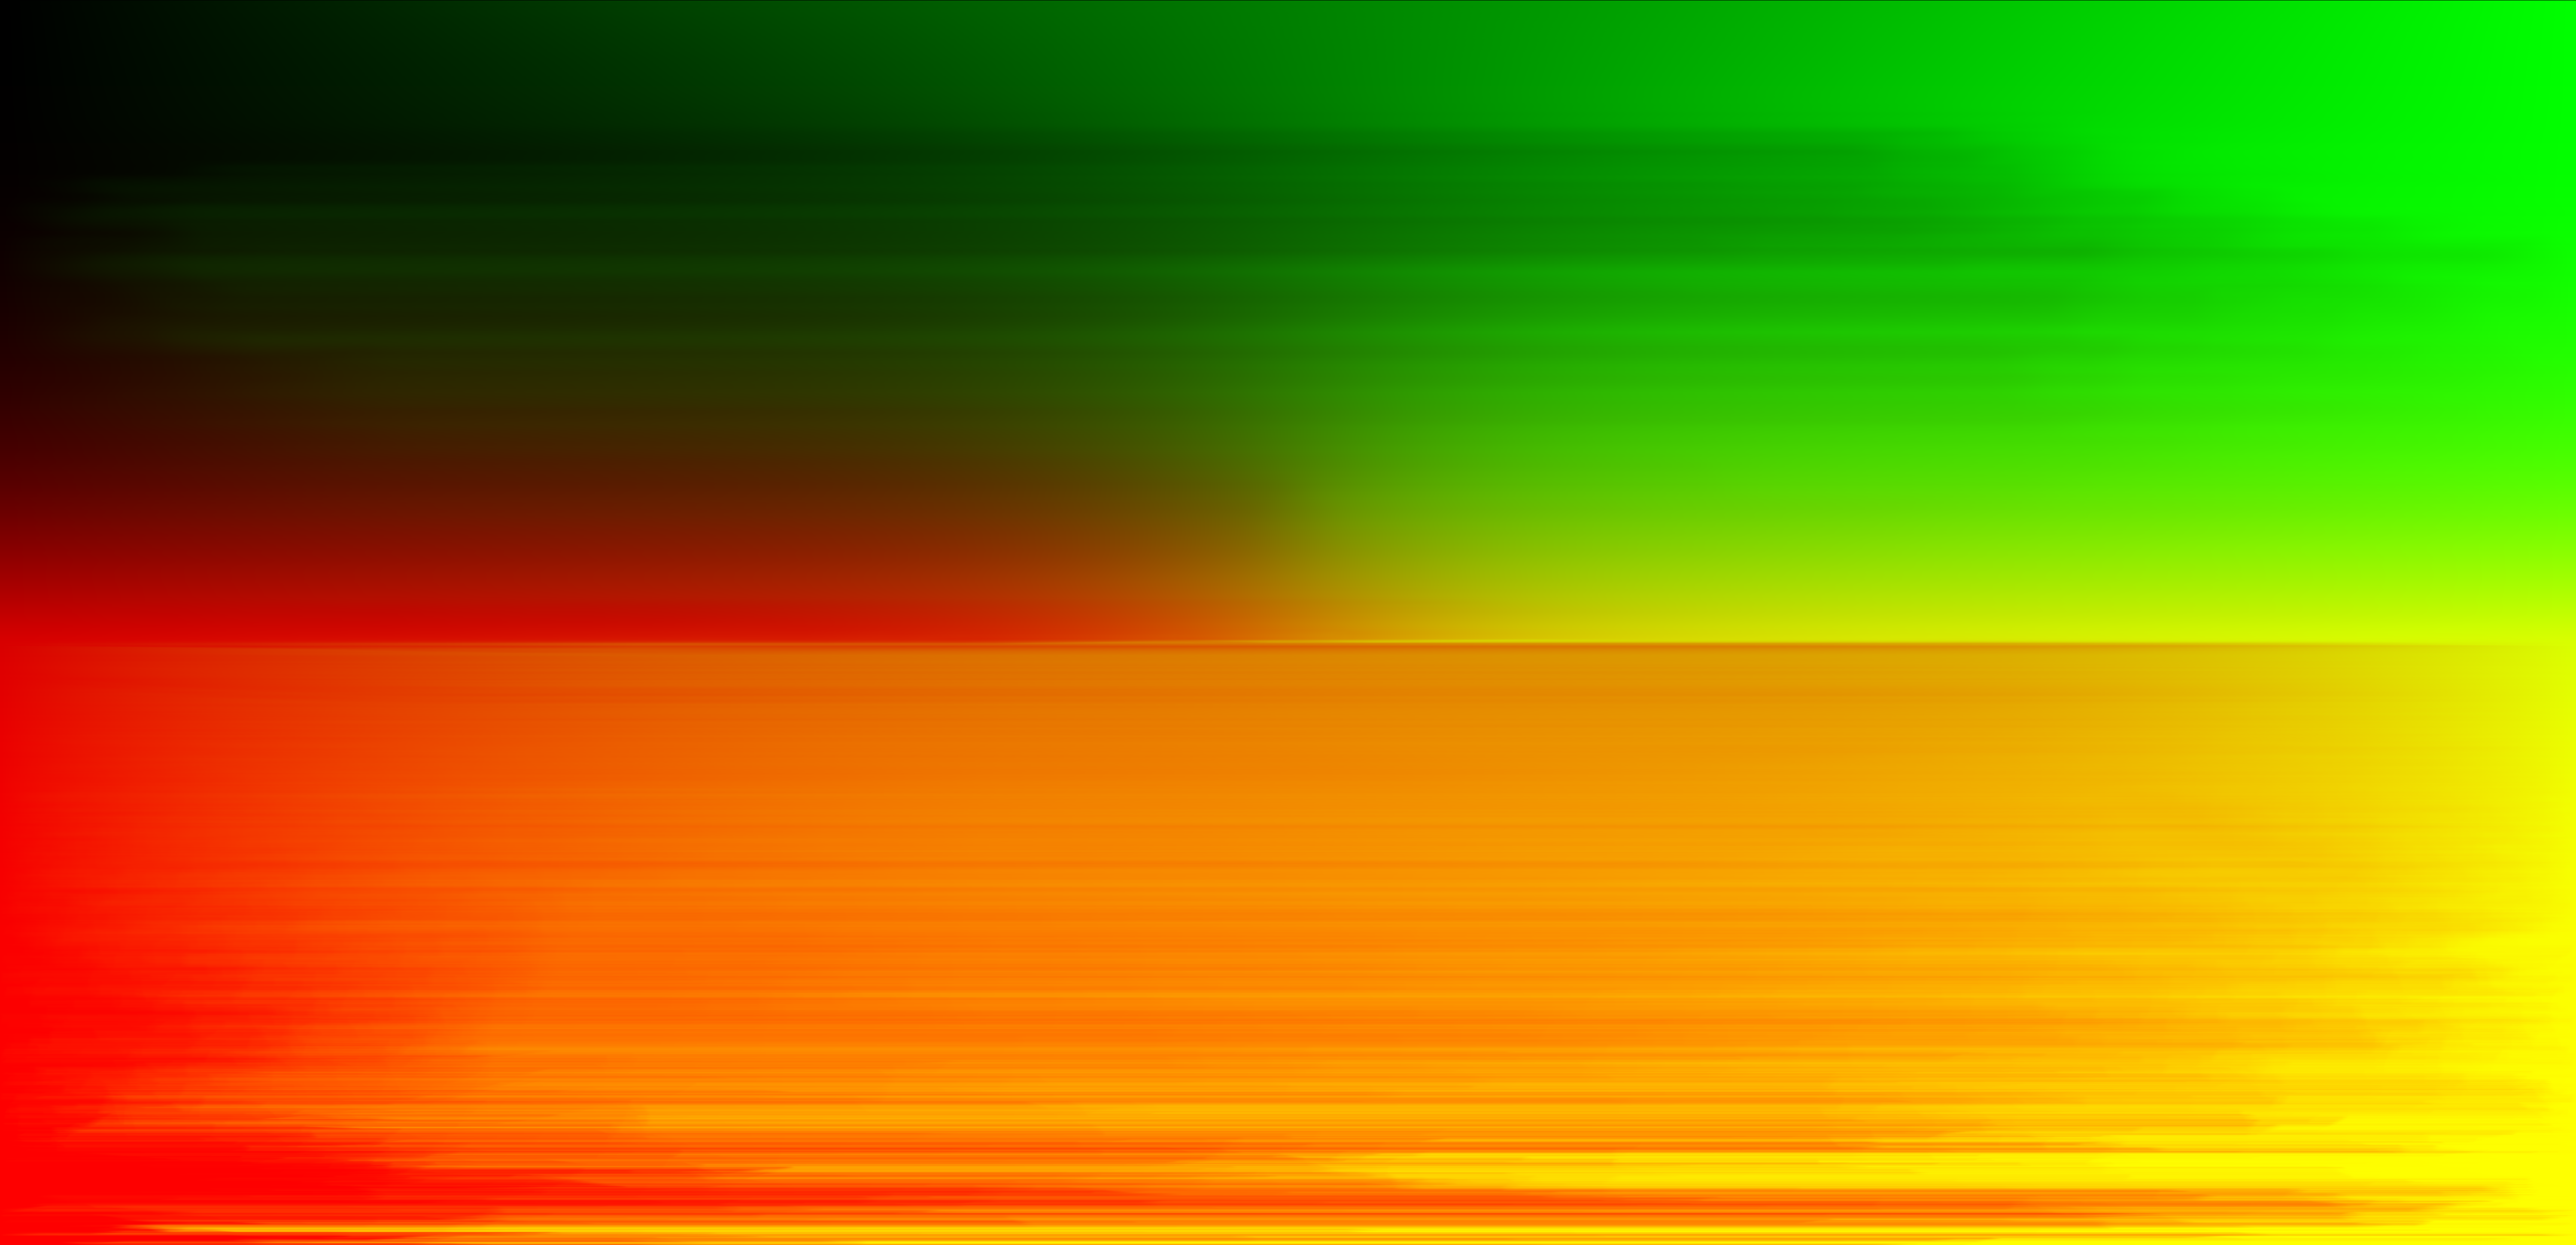
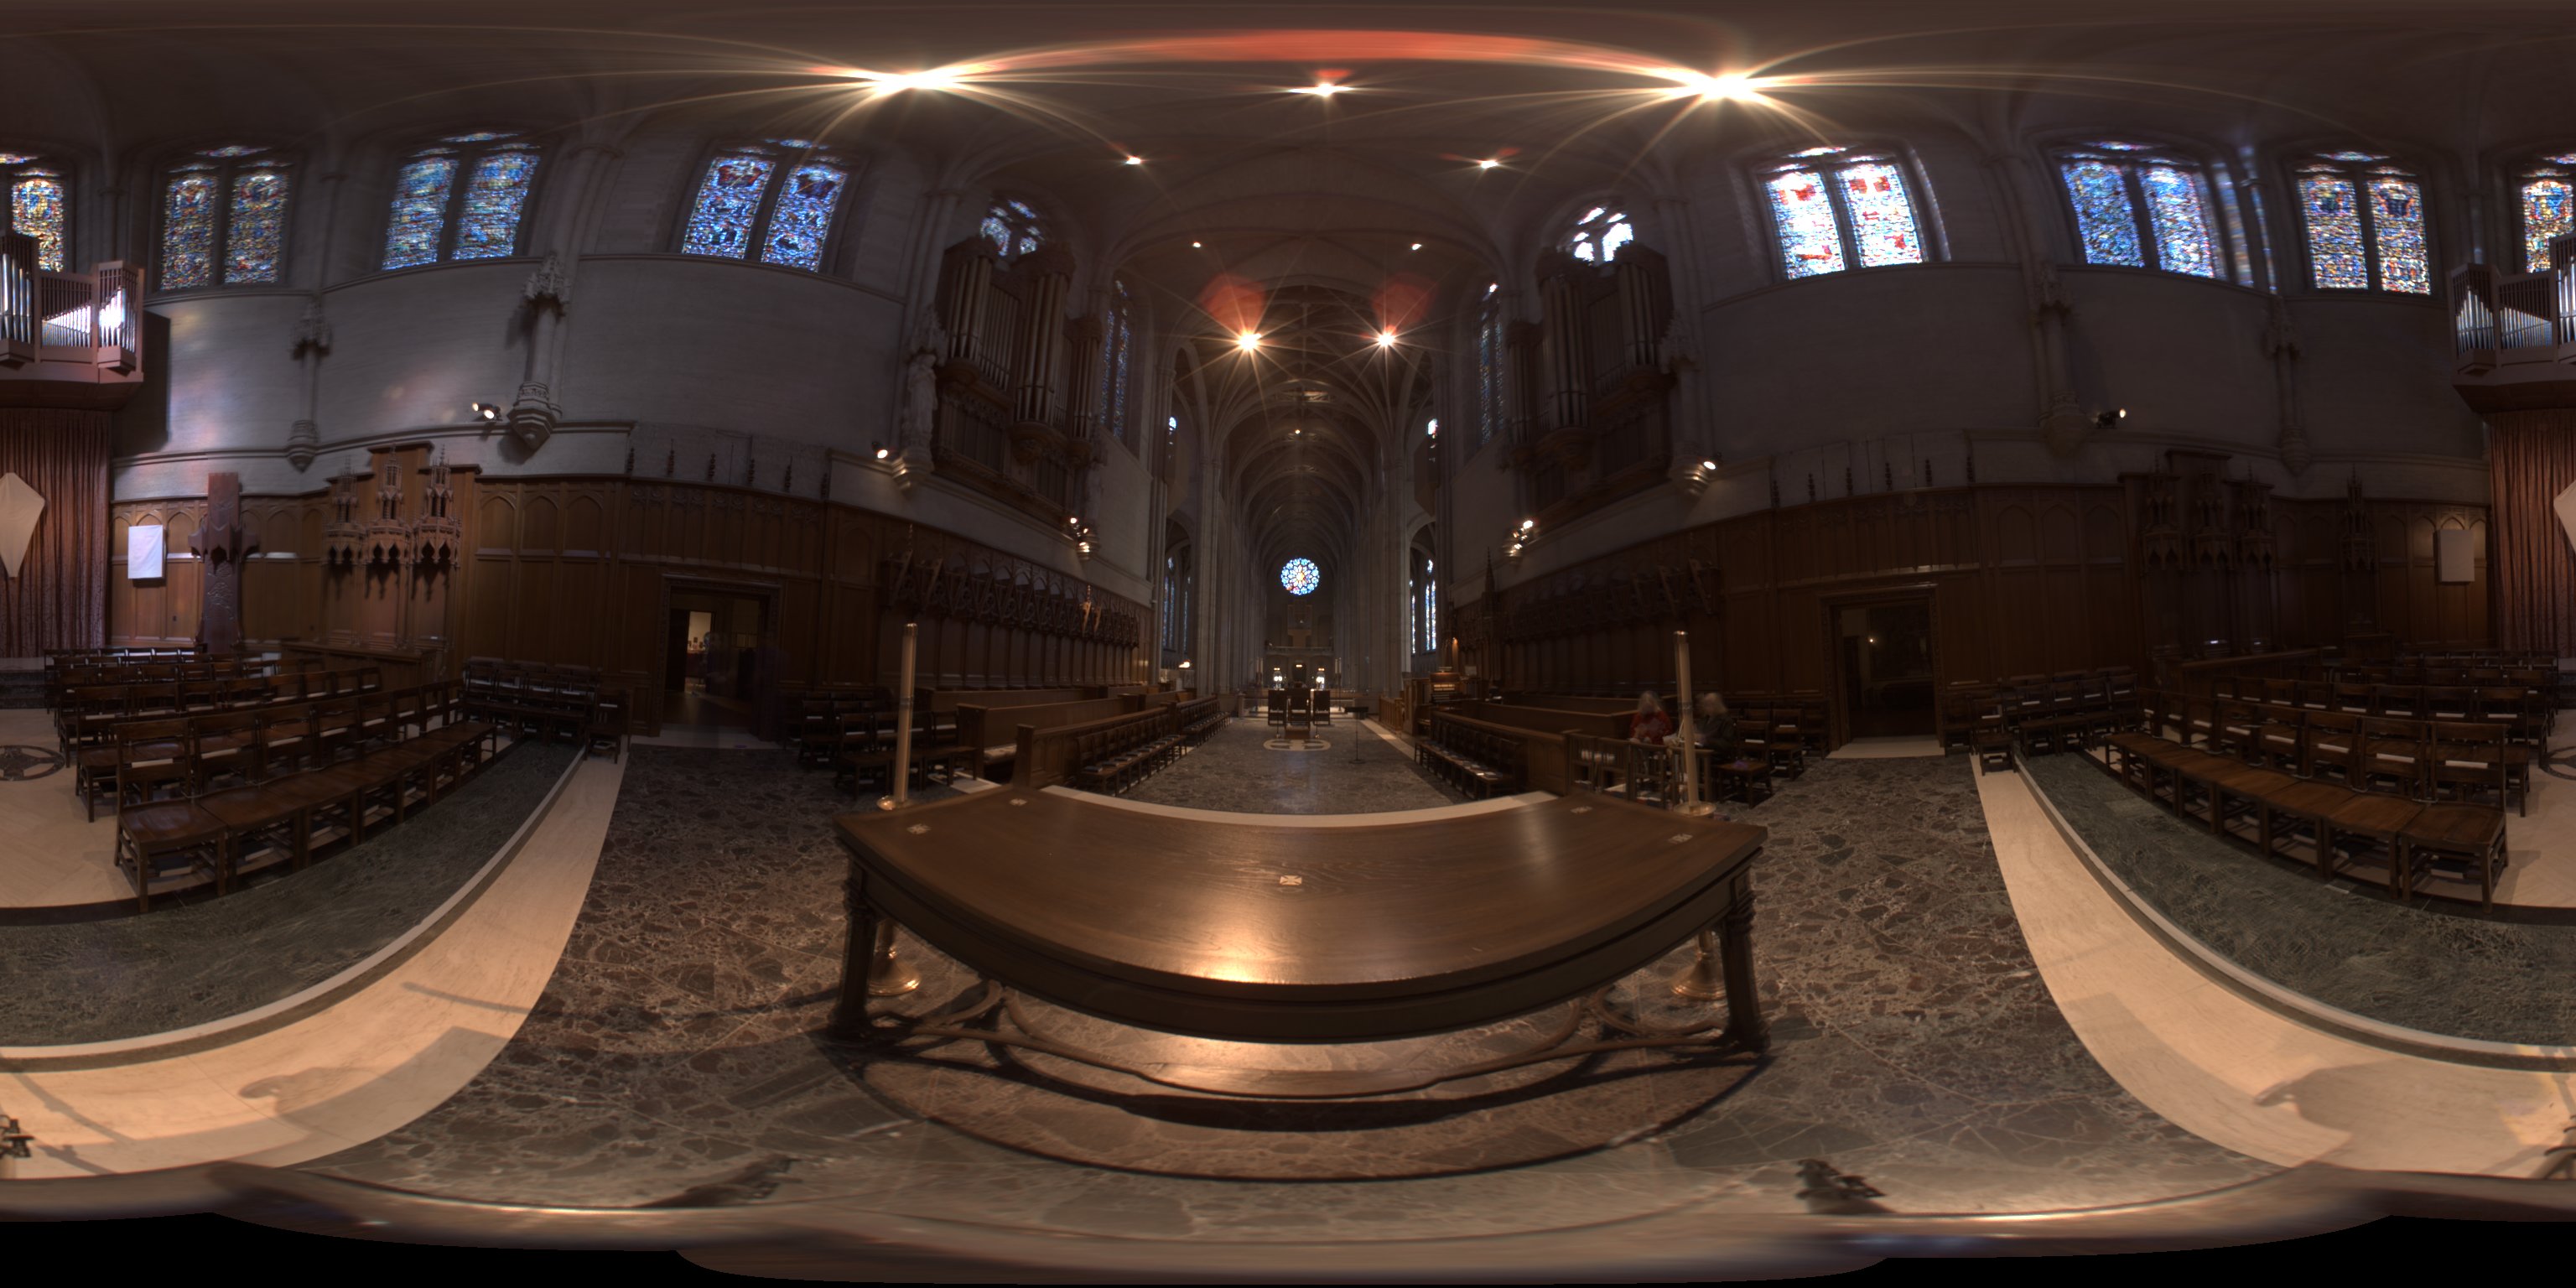
I used field.exr as my environment and the probability_debug.png that I got can be seen below.
|
|
|

|
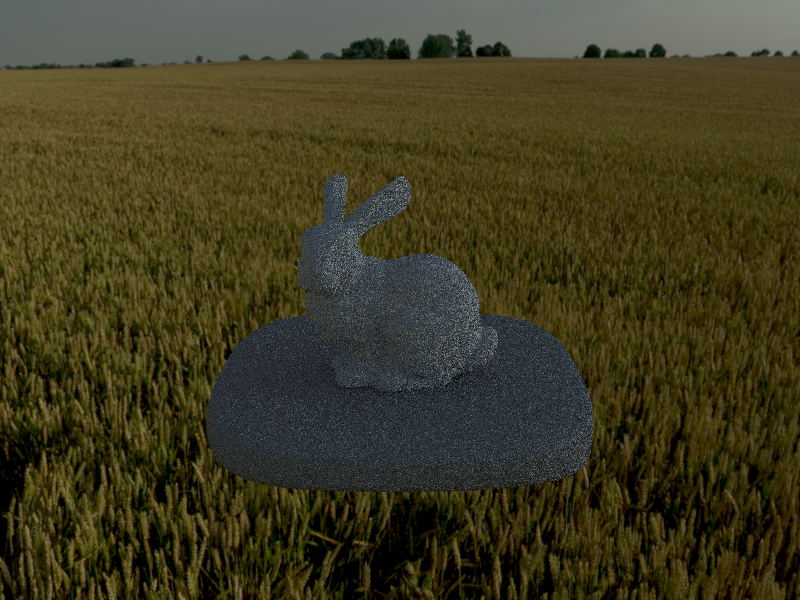
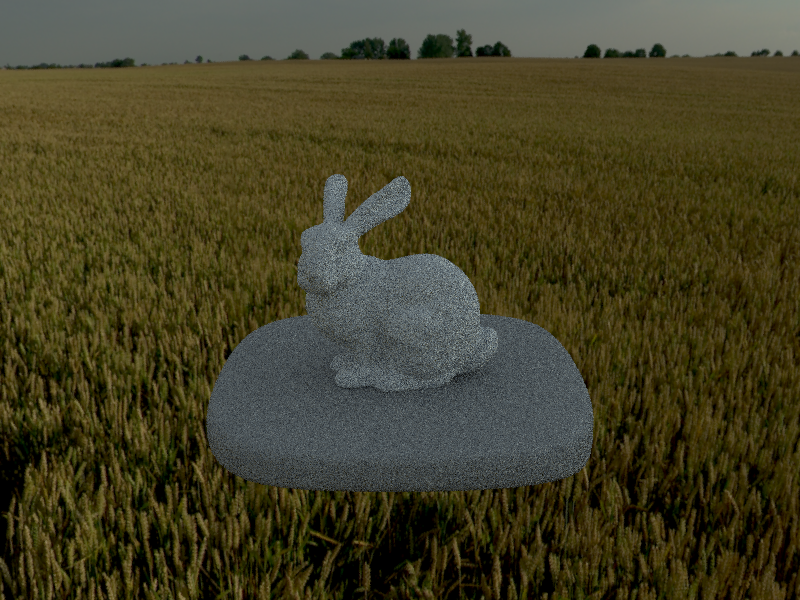
Much more noise (lighter bunny: due to a lot of white dots - looks brighter) on the bunny when the bunny is used with uniform sampling especially since it's slow at hitting the right point when it's compared at the same sampling rate since you are guaranteed to get less variance with importance sampling.
|
|
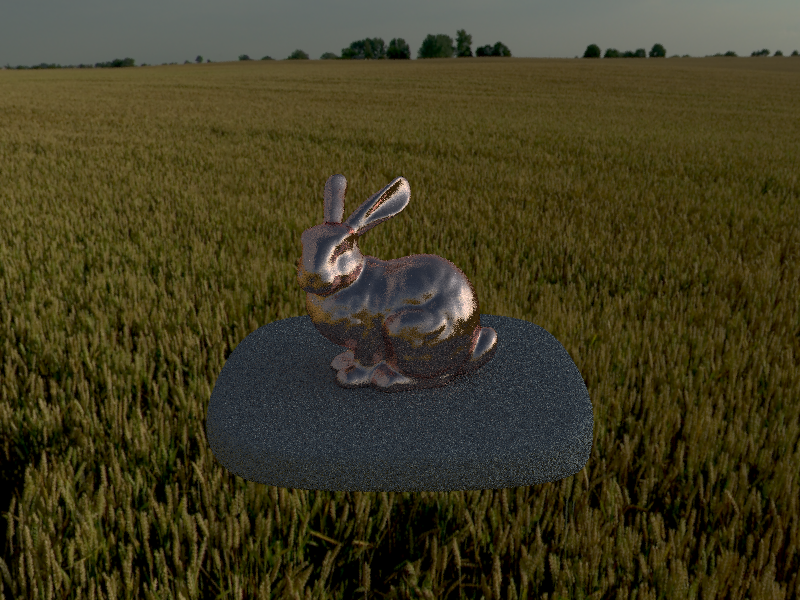
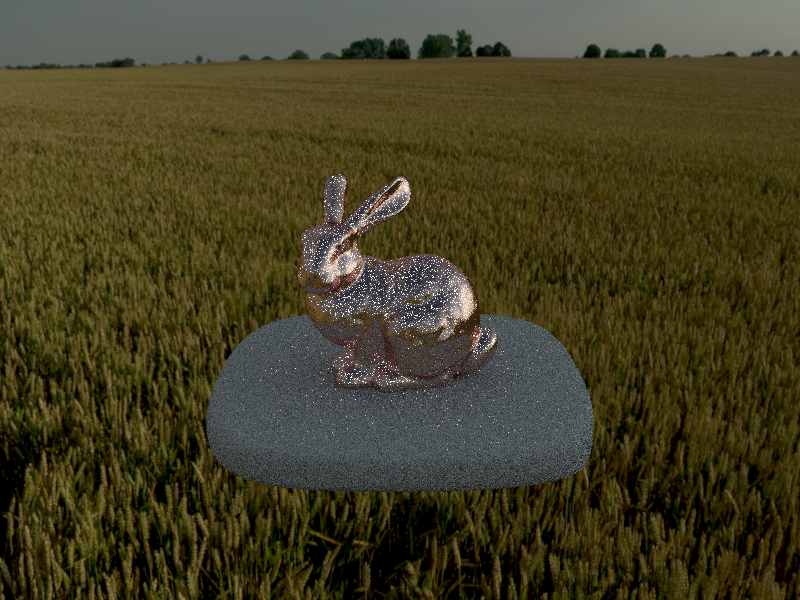
Much more noise on the copper bunny when the bunny is used with uniform sampling especially since it's slow at hitting the right point when it's compared at the same sampling rate since you are guaranteed to get less variance with importance sampling. Same reason as the no microfacet bunny as the the stone below bunny is brighter = yet to converge.
|
|
Part 4: Depth of Field
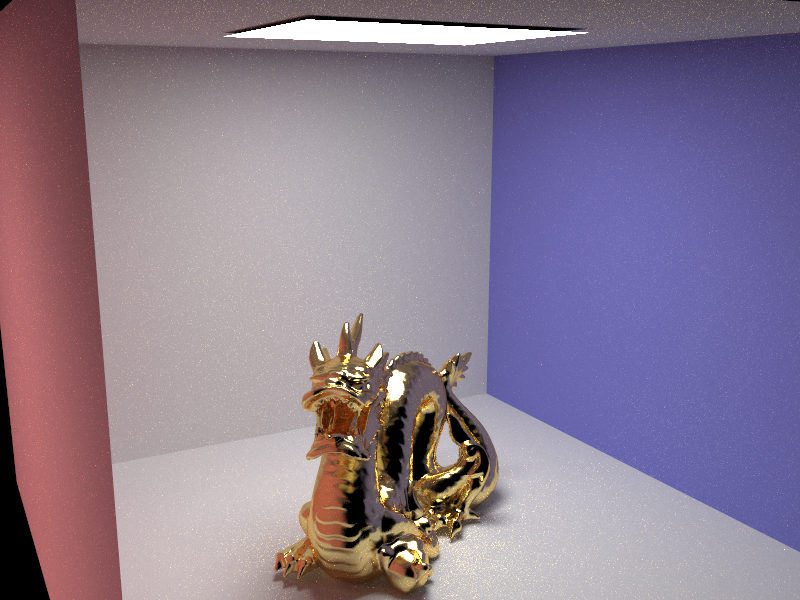
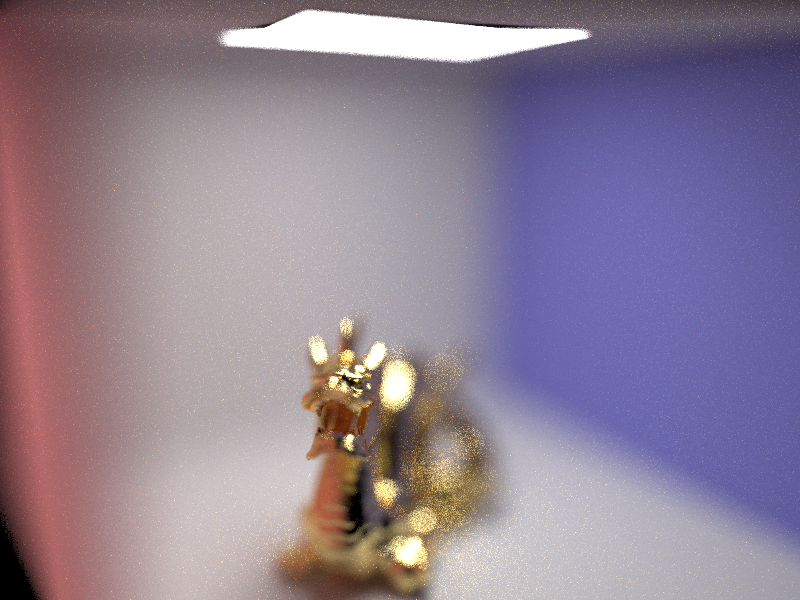
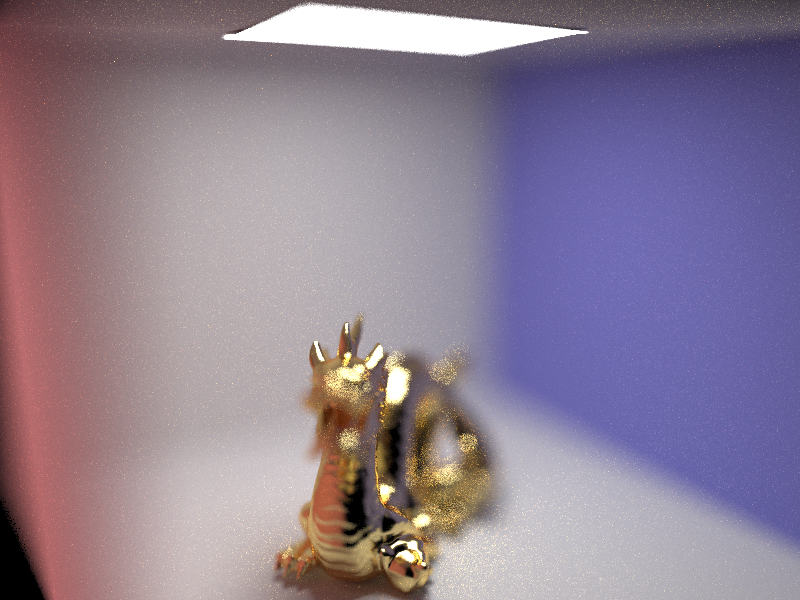
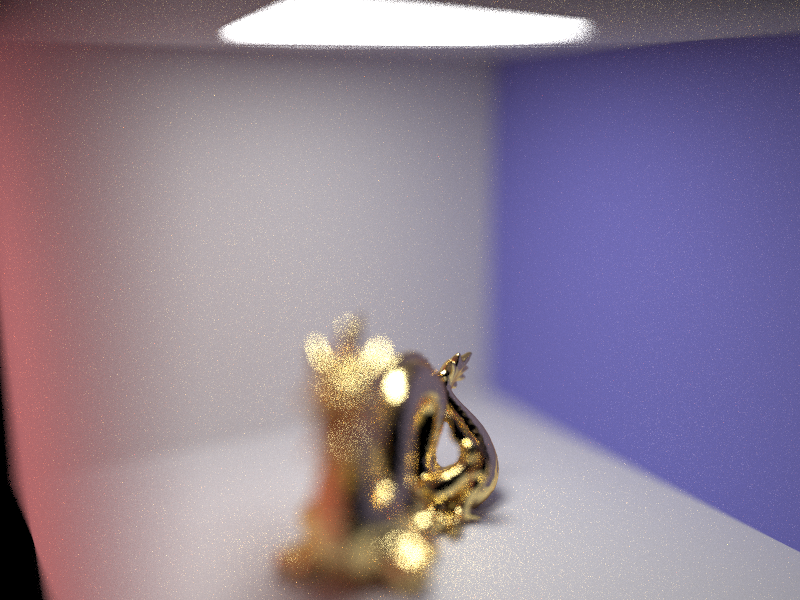
I attempted to focus on the tail of the dragon for different aperture sizes given in the caption below pictures. You can see that more and more become less blurry as you down the aperture size. especially distinguishably between size of 0.23 and 0.05.
.png)
|
.png)
|
.png)
|
.png)
|
