
Project 2: Mesh Editor
Section I: Bezier Curves and Surfaces
Part 1: Bezier curves with 1D de Casteljau subdivision
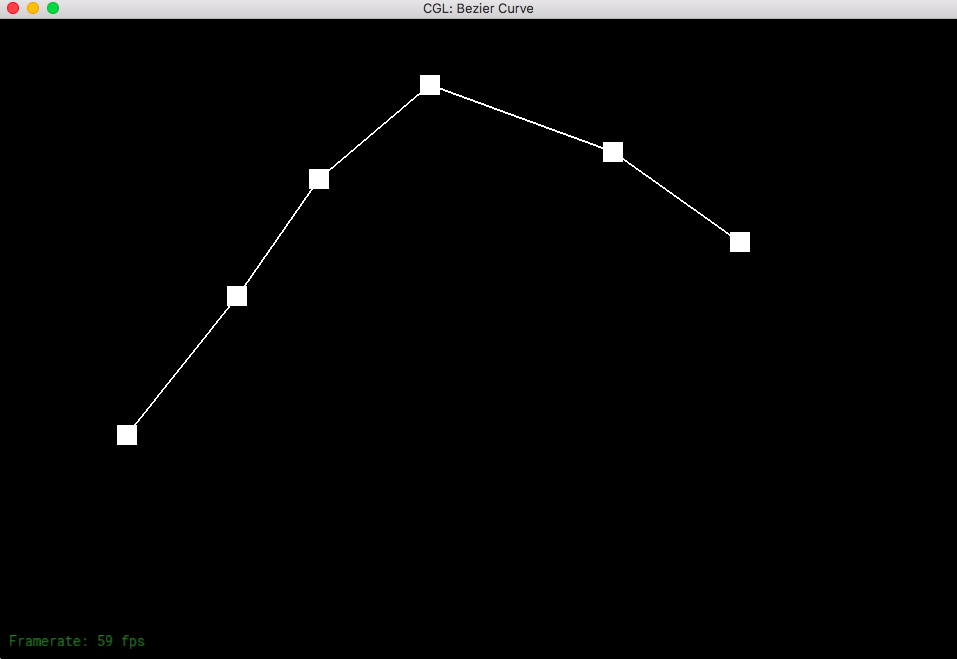
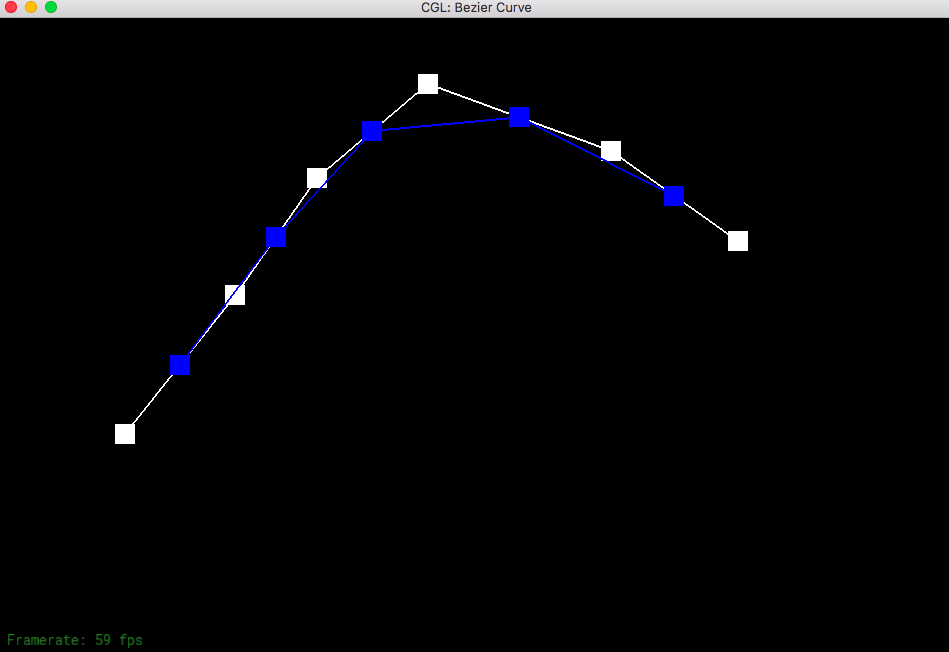
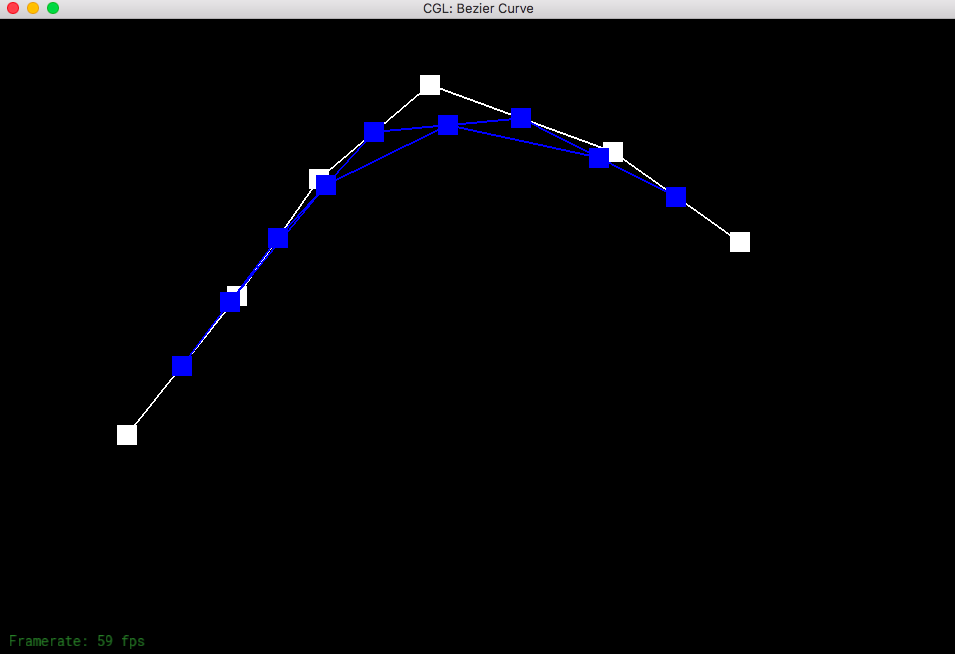
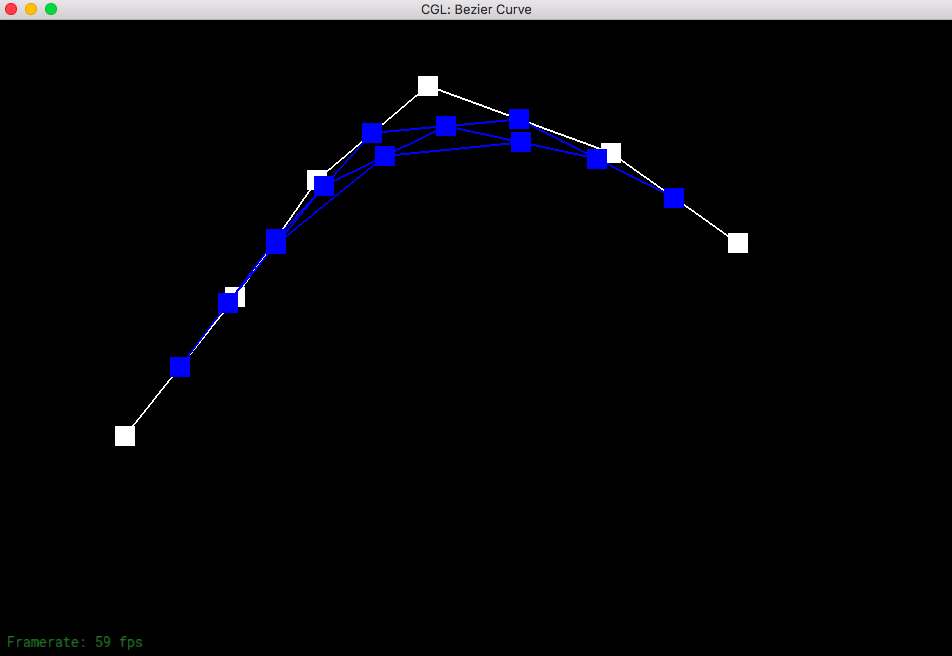
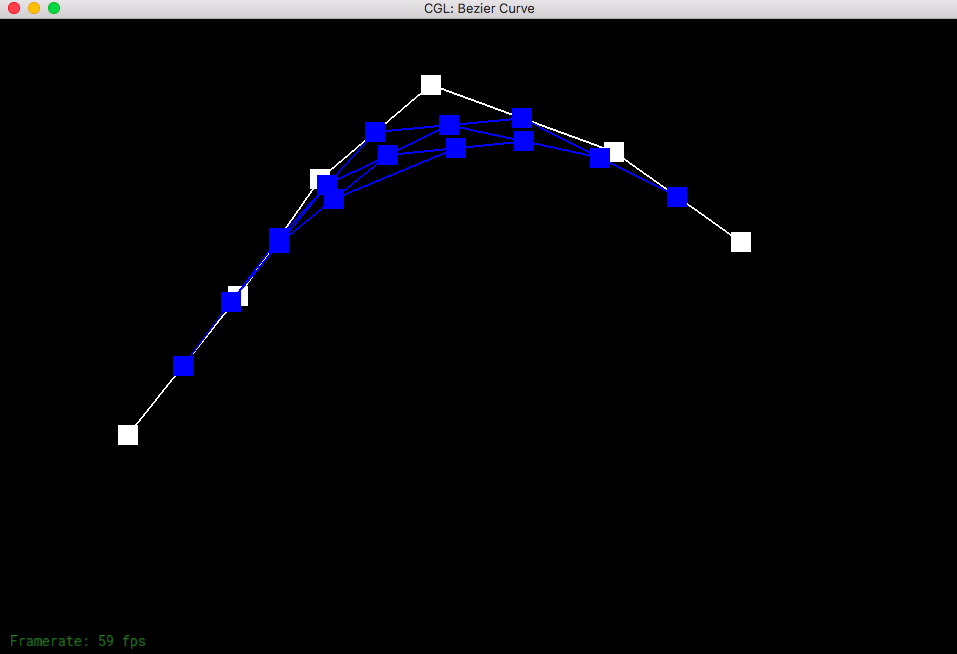
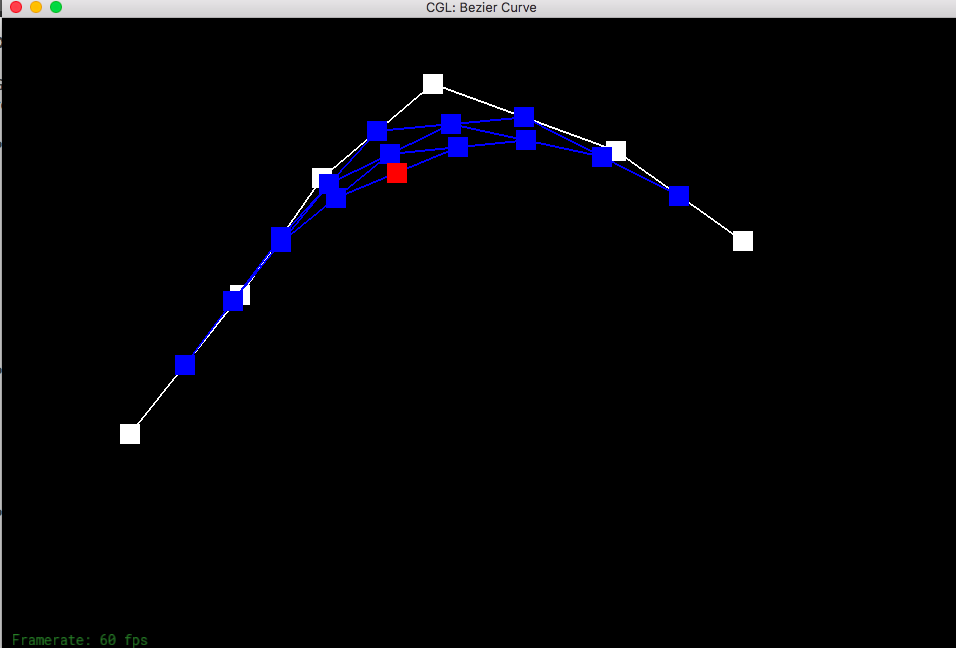
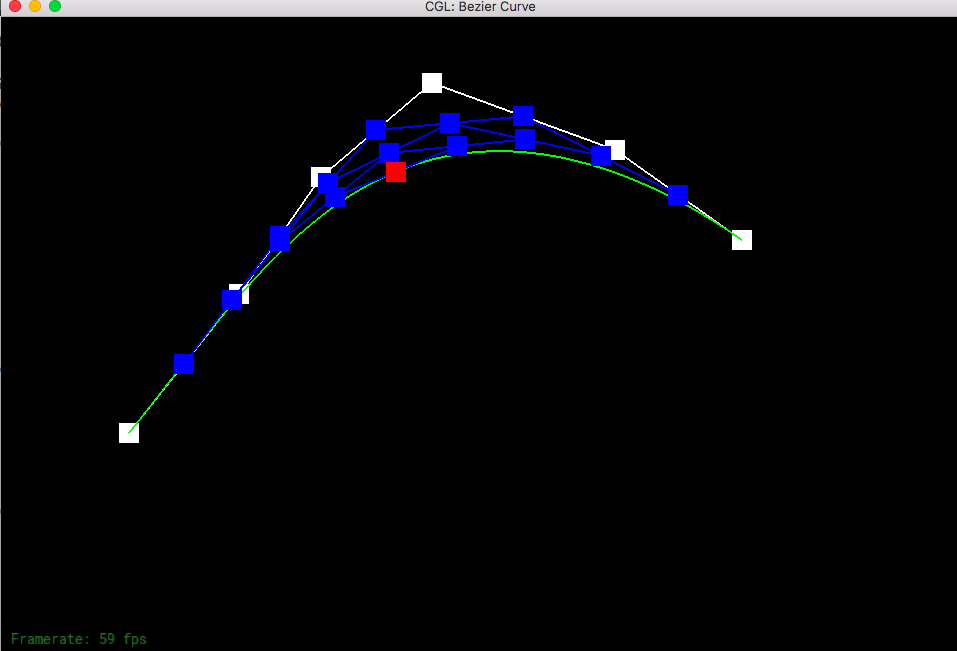
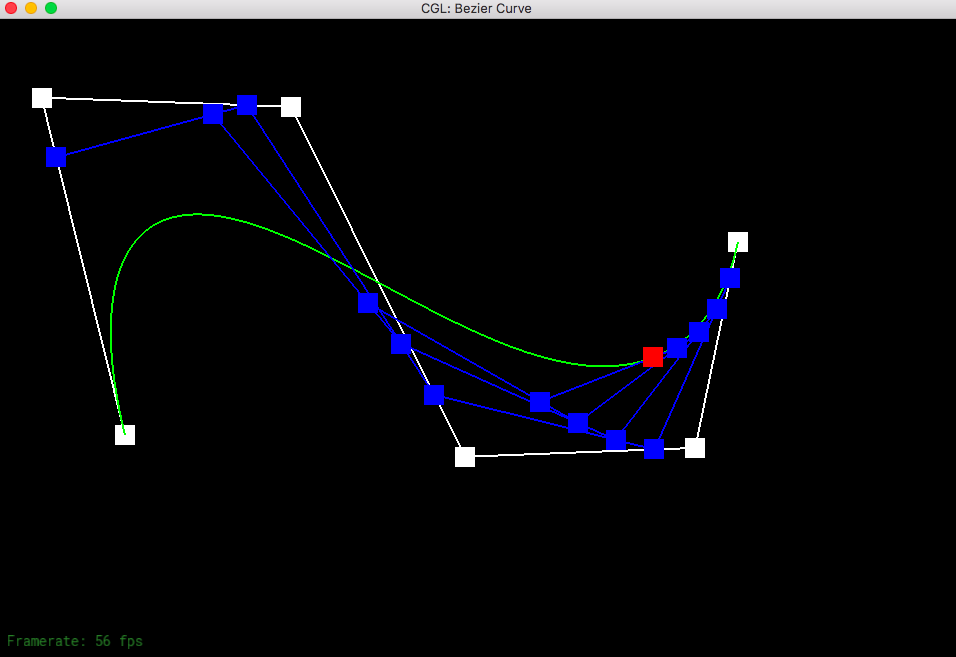
de Casteljau's algorithm allows to create a smooth Bezier curve from a series of control points that can be randomly picked on the screen. You start from the original control points and save each of the level (each consecutive pair is evaluated and linearly interpolated with the given t.) So iterate through each pair until the last pair and do the linear interpolation and save it to the saved levels. Check to see if you have already found the exact point (level has only one point). Then you just return that point since you can no longer do interpolation with only one point.
|
|
|
|
|
|
|
|
Part 2: Bezier surfaces with separable 1D de Casteljau subdivision
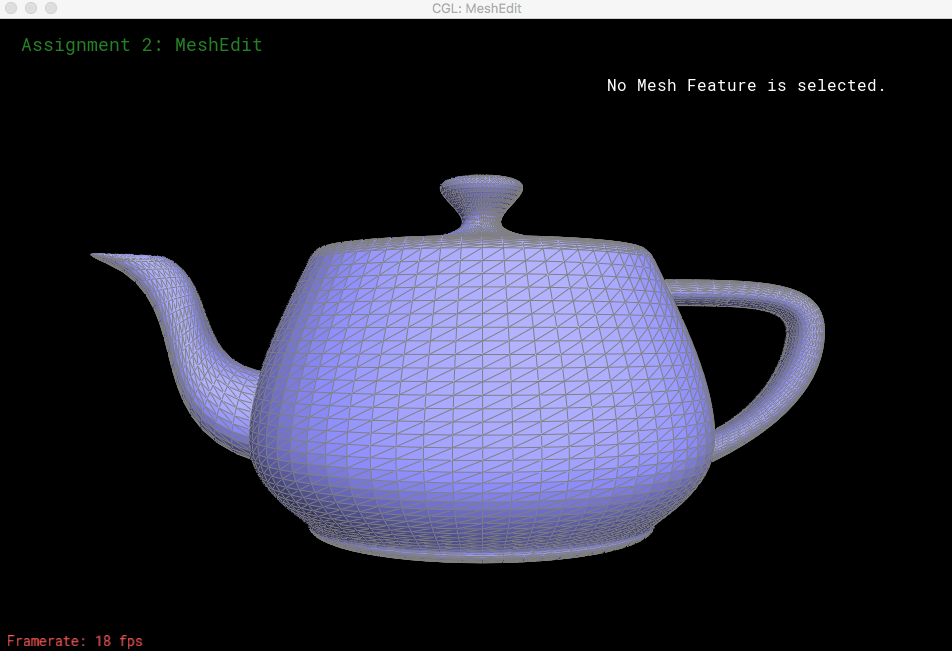
This is very similar to the previous part. But we have to get the final curve all at once. So the small helper function to do is calculating the final point all at once unlike part 1. So after getting final points for all the rows, we can call the evaluation helper function on that group of final points to get the true final point. However, we have two parameters in which we use one for each row and the other for the final evaluation with all the final points.
|
Section II: General Triangle Meshes
Instead of control points, if we have general triangle meshes, then subdivision is not easy. Below will be functions that will be eventually used for subdivision of general triangle meshes. To save redundancy and be memory-efficient, half-edge data structure is used (See details )
Part 3: Average normals for half-edge meshes
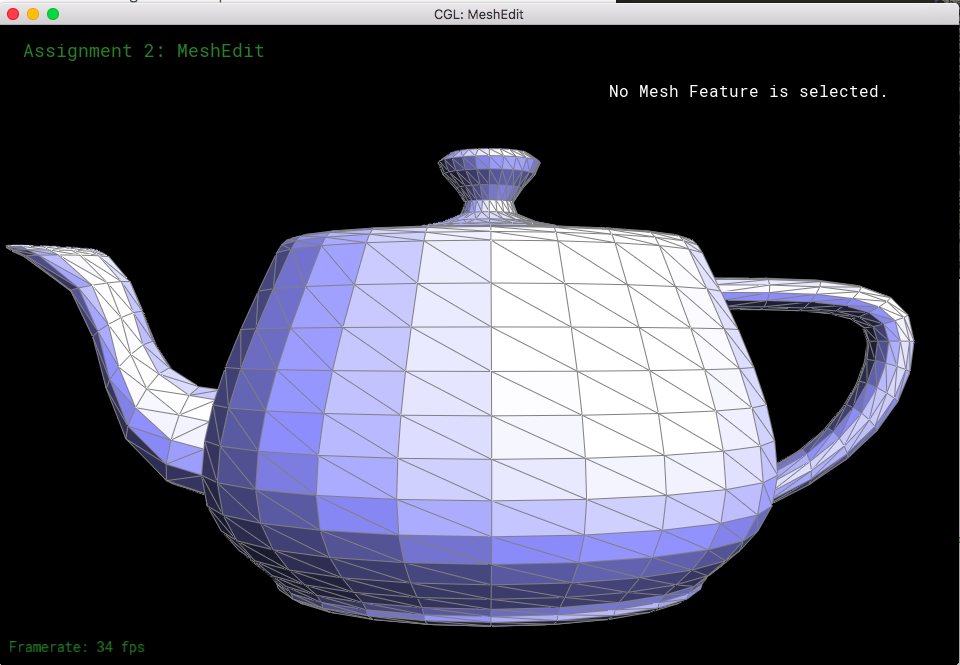
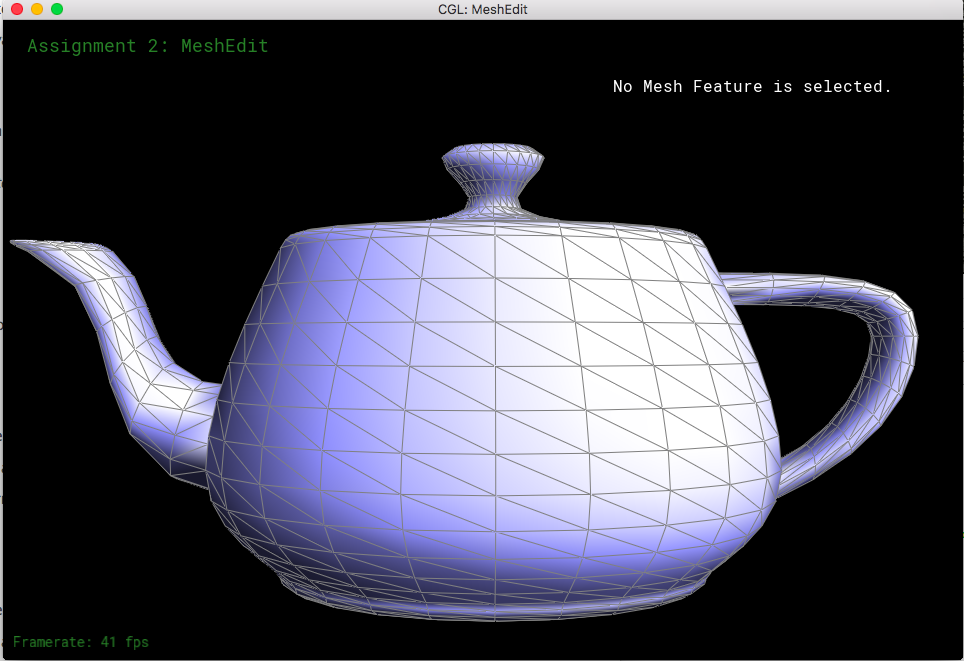
This function returns the area-weighted average normal vector for a vertex. So we need to go over all the neighboring faces and get its normal. The way to do it is do cross product of two vectors (calculated via subtracting the vertex of the half edge from each of the vertices in that face). Cross function already exists for the Vertex3D class so I used that function to calculate the normal with the two vectors. So go over all the faces and sum up the normal vector and by calling unit() on the summed vector, we normalize the vector. This function's primary role is to smoothen the surface and make the shading more realistic.
|
|
Part 4: Half-edge flip
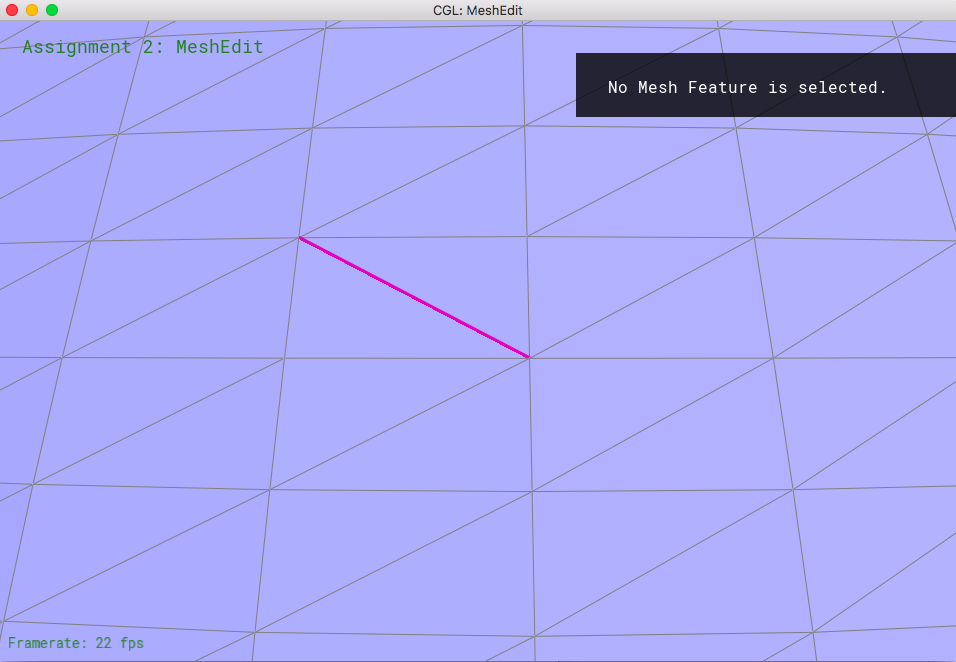
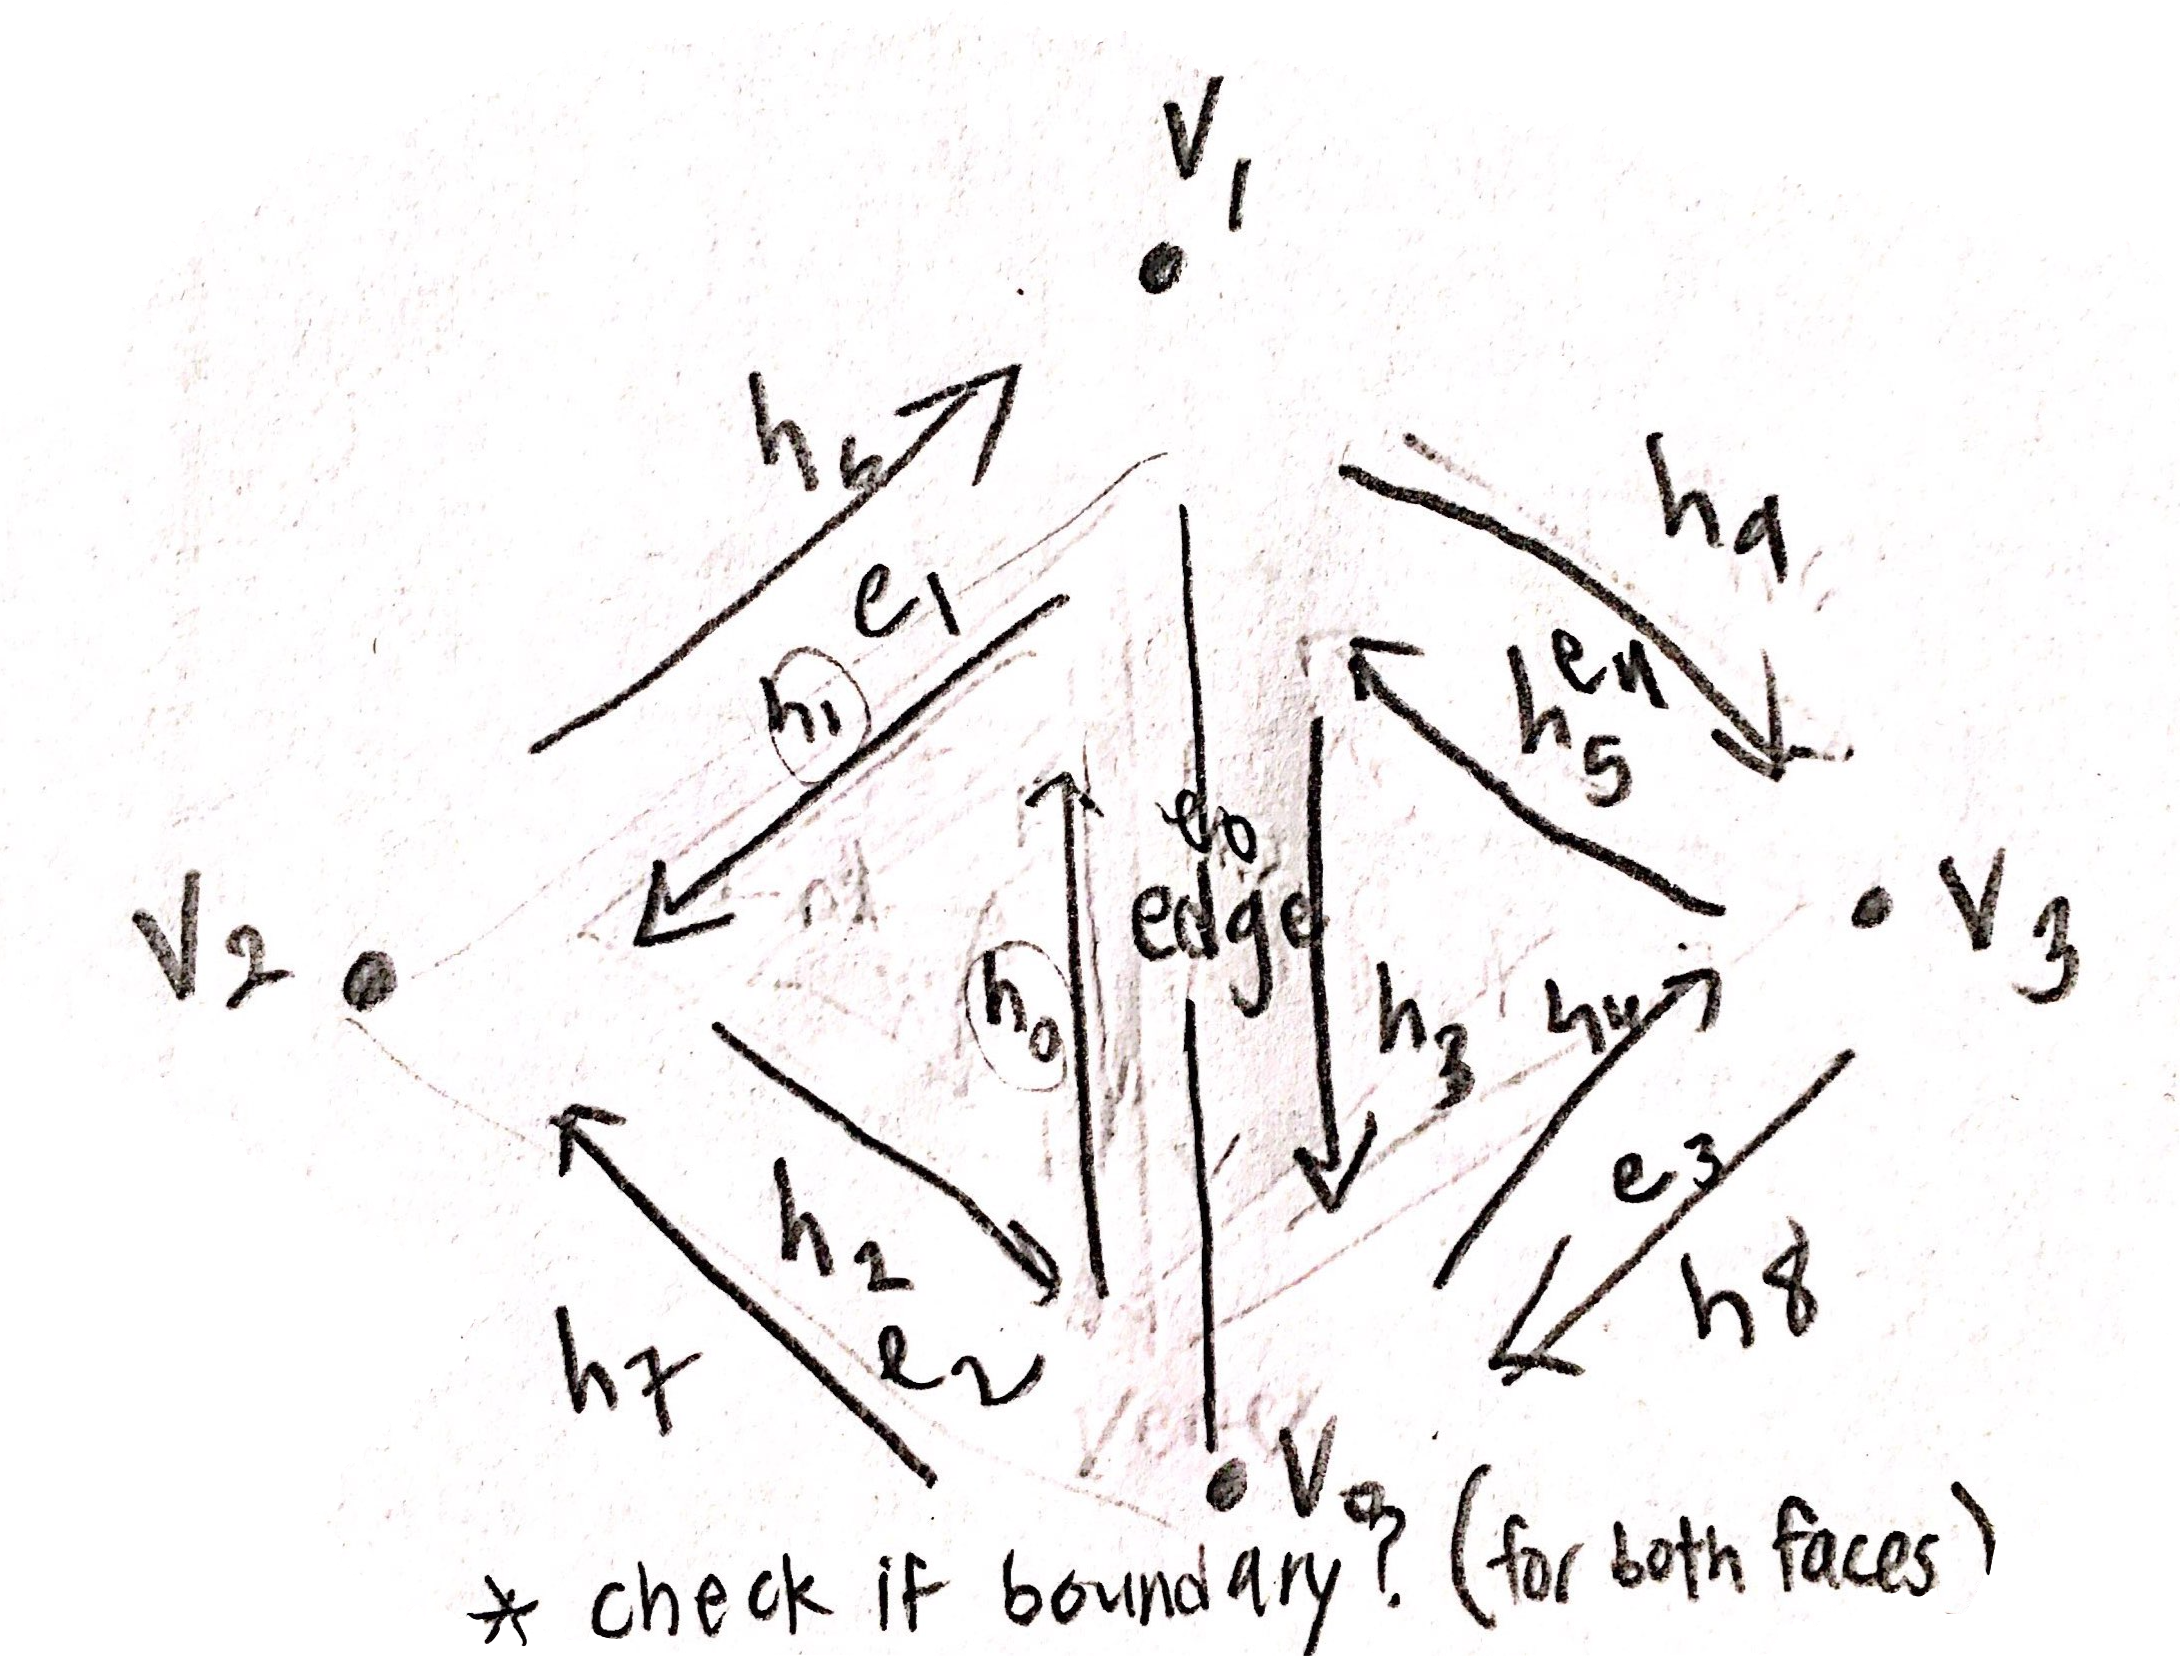
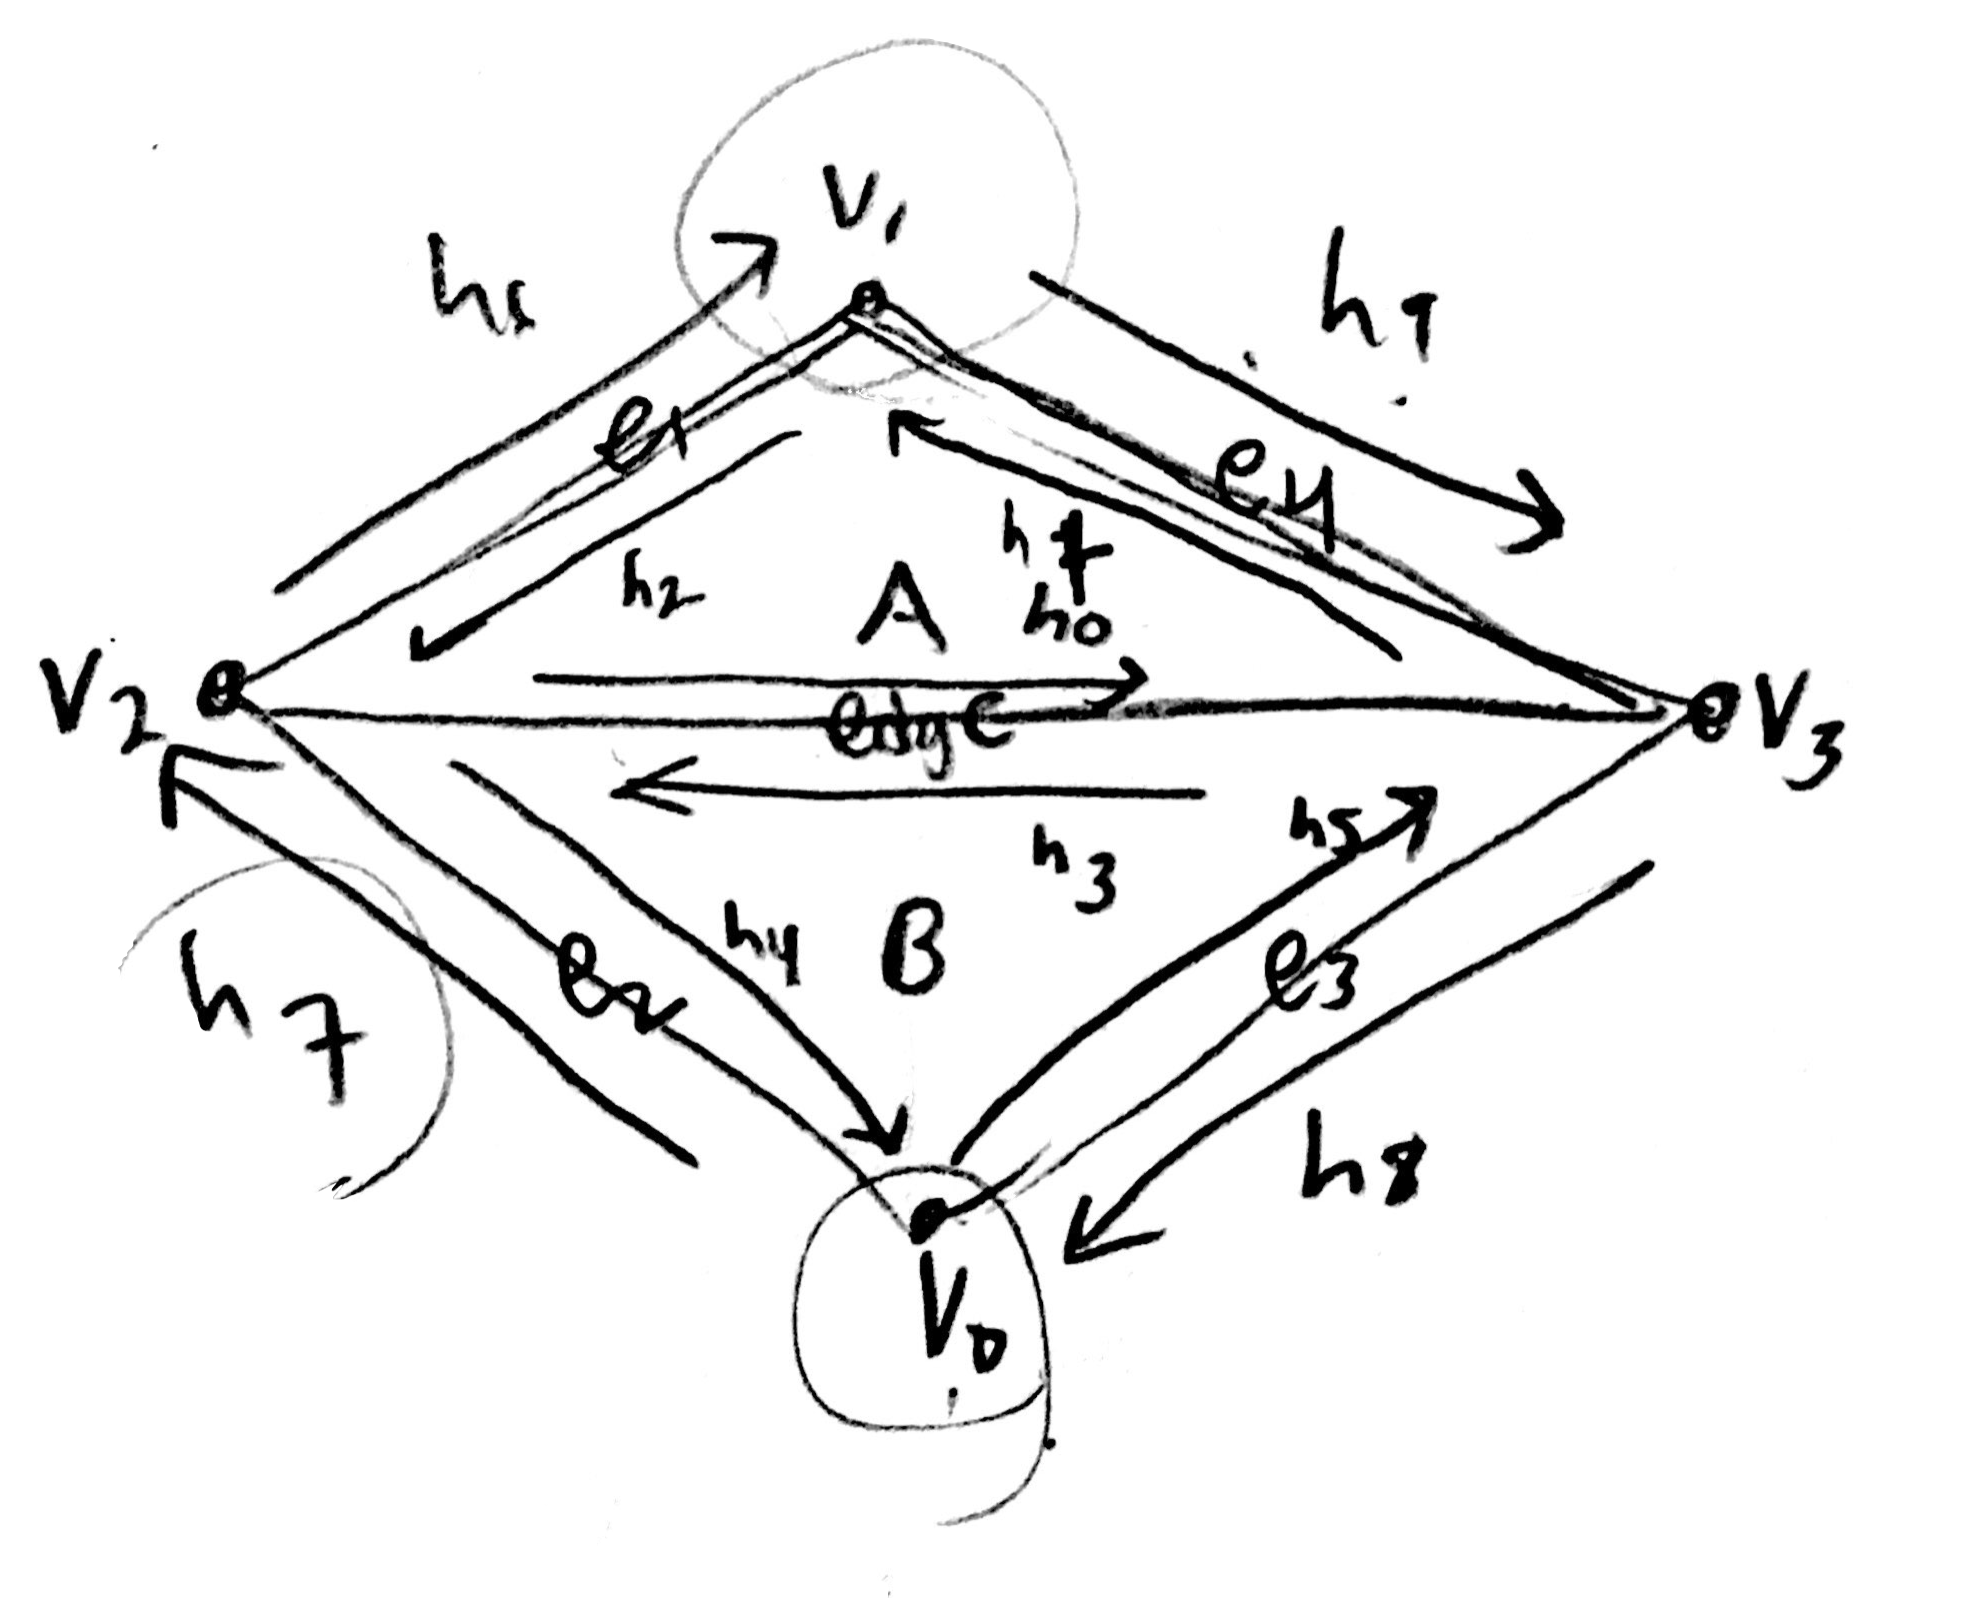
Half edge operation was carefully drawn out first to write down all the elements that are required for those faces that are to be involved with this flip operation. Then, I drew a new flipped version with the elements placed accordingly. Using this information that I drew, I exactly put that into code. At first, I did not use existing function "setNeighbors()" to make sure and it worked on the first try. So I tried to shift to using setNeighbors but for some reason, it did not work. So I continued on using the original and long version of setNeighbors(). However, this is better as I force myself to update all the values seeing each components (next, twin, vertice, edge, face) for each half-edge and this allows fewers mistakes. The most important part of this part was to update ALL the edges, half edges, vertices, and faces that are involved with this operation regardless of whether they actually changed or not. This was to ensure that I do not miss anything. Thankfully, I did not have to go through any debugging!
|
|
|
|
Part 5: Half-edge split
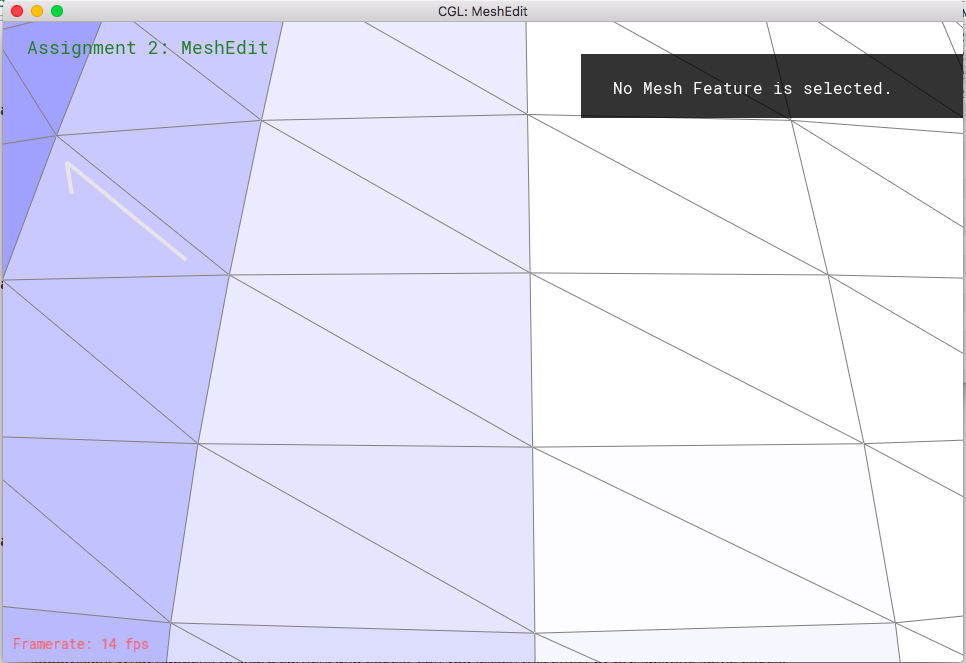
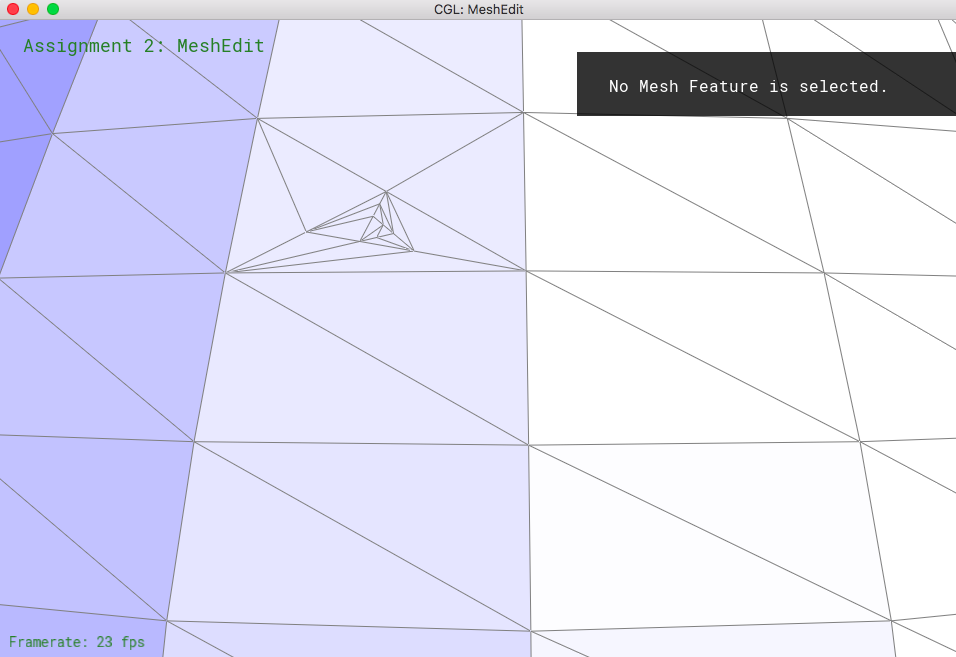
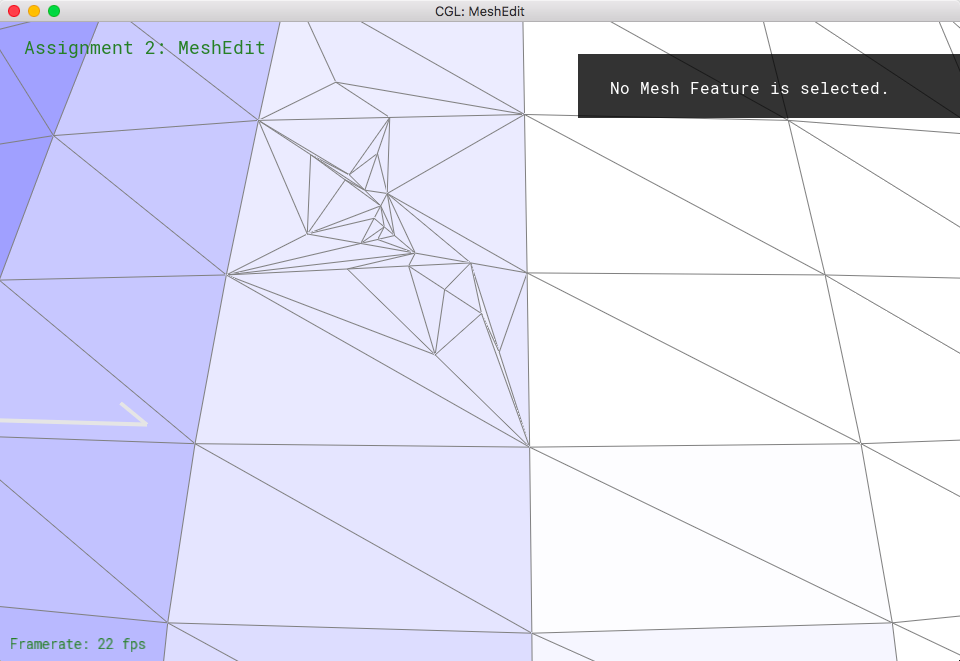
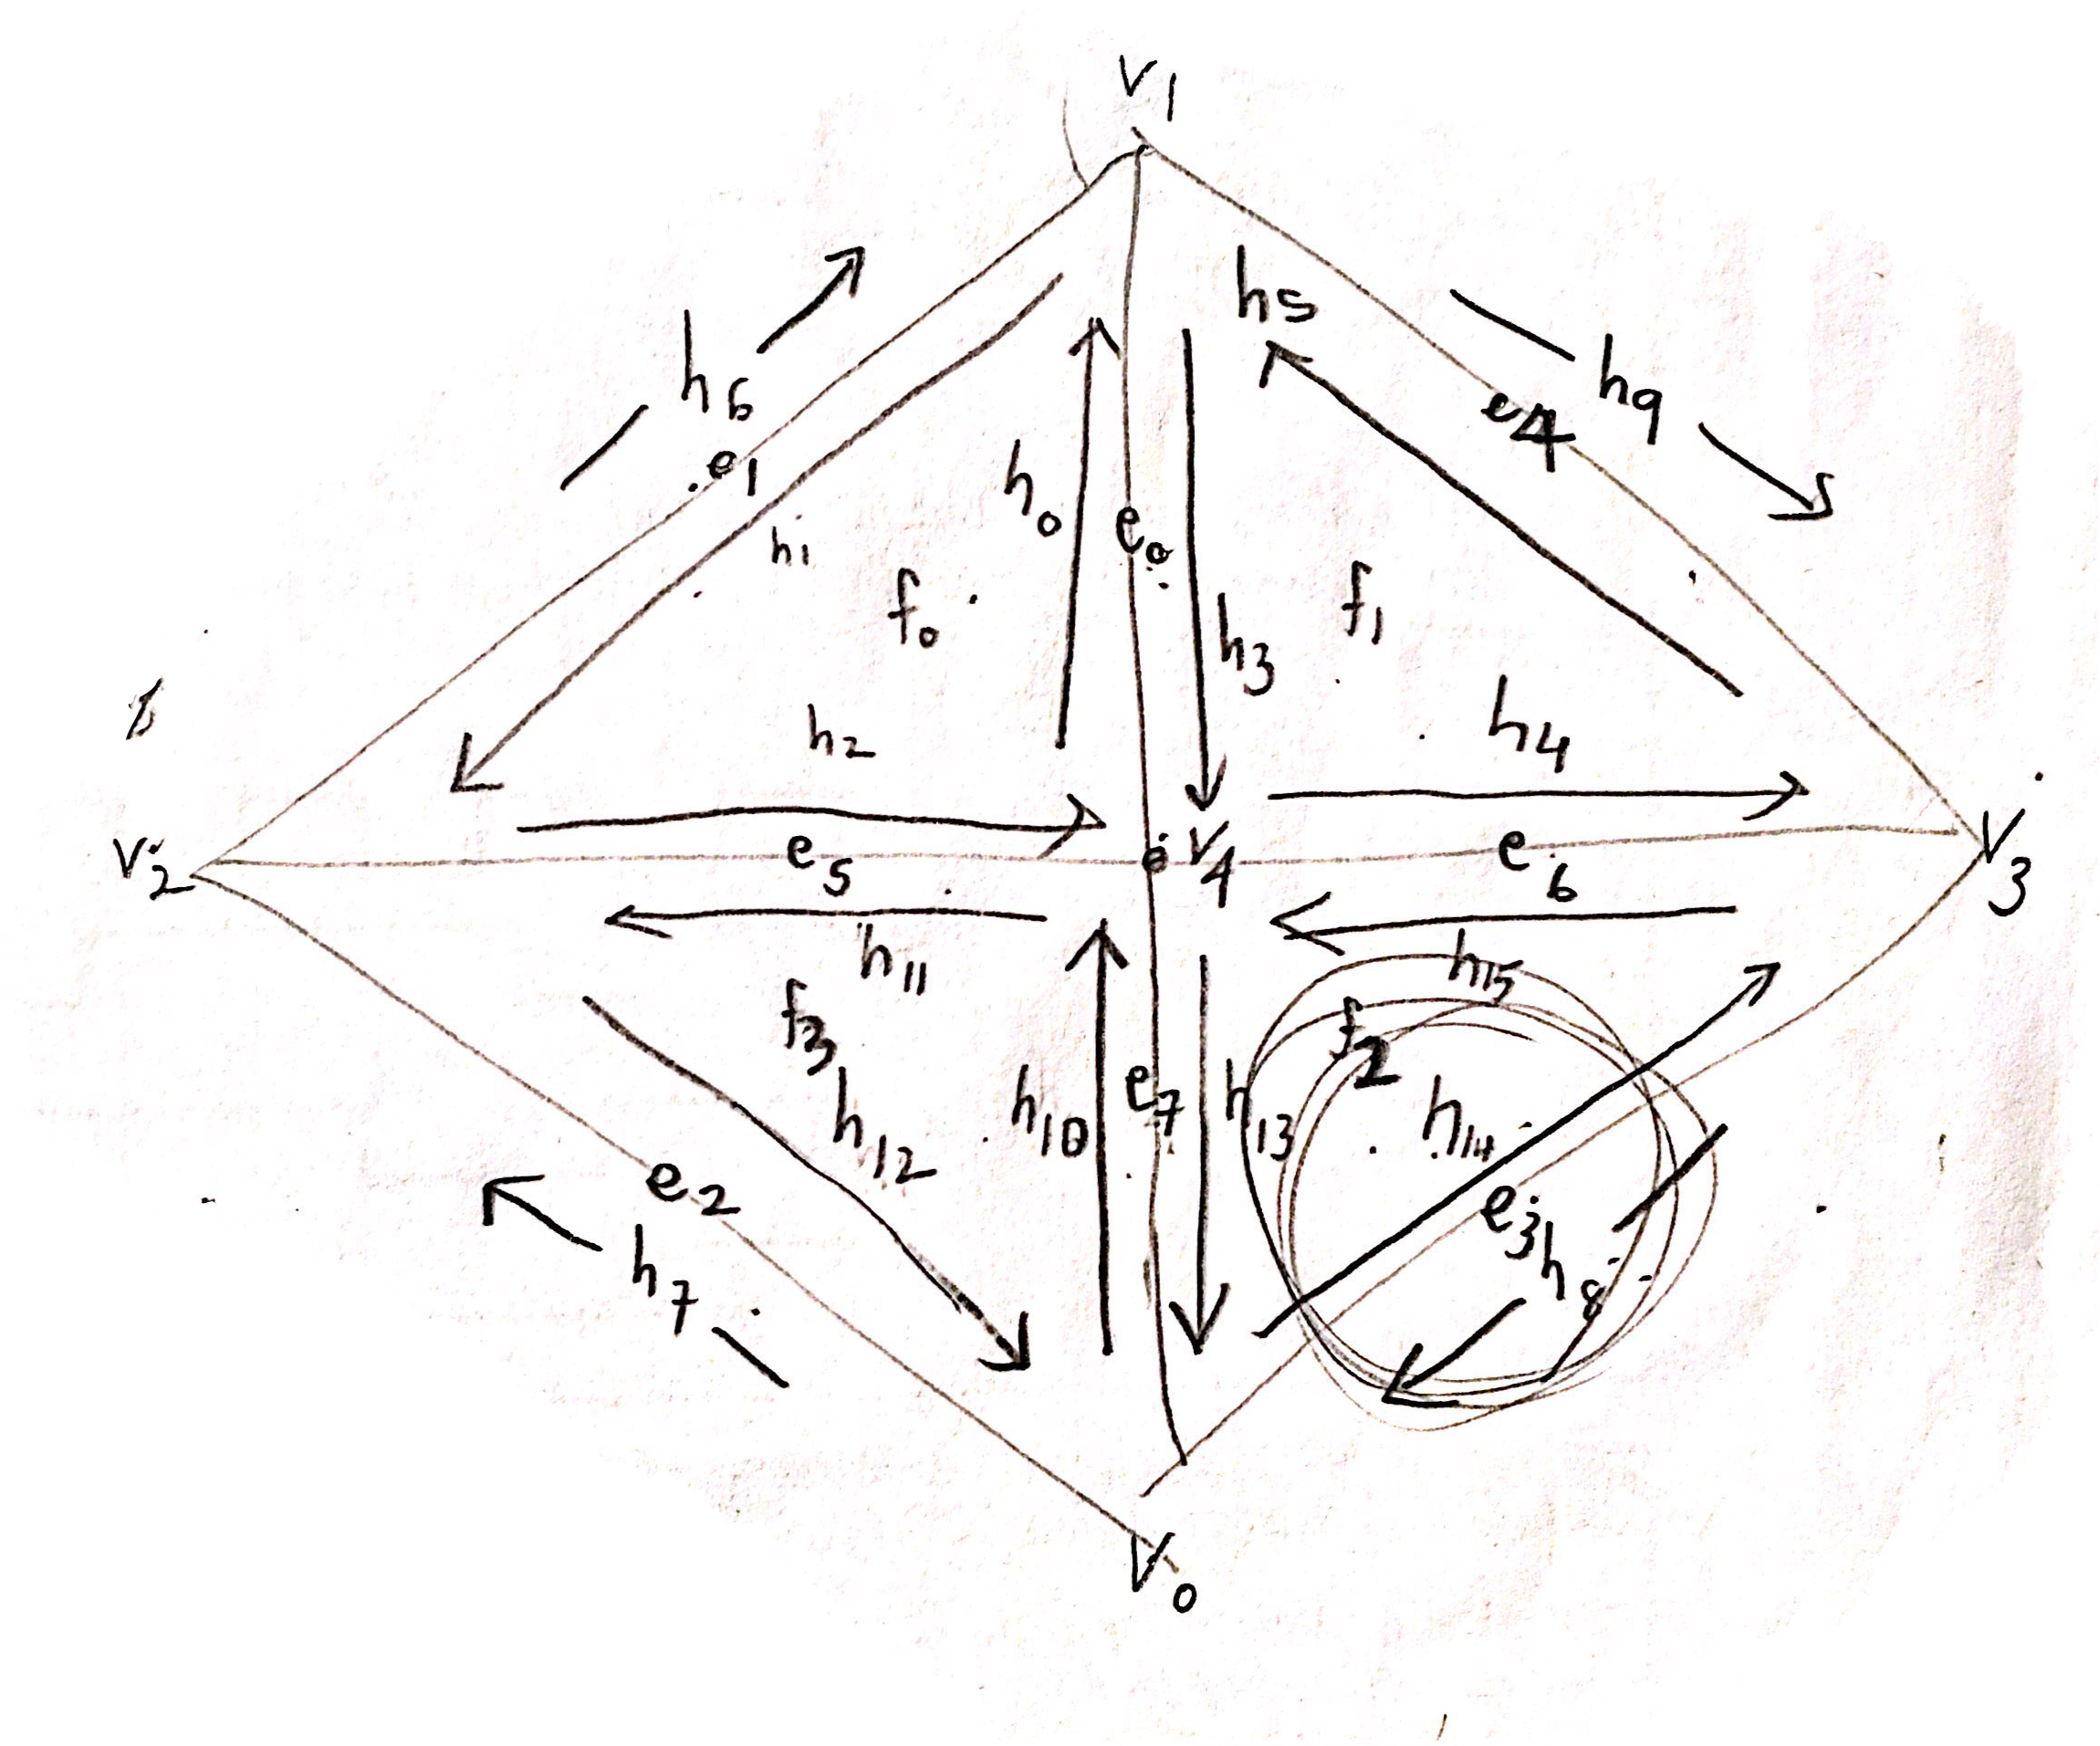
Half edge operation was carefully drawn out first to write down all the elements that are required for those faces that are to be involved with this split operation. Then, I drew a new splitted version with the elements placed accordingly. Using this information that I drew, I exactly put that into code. Thankfully, since I triple checked before running the code, my code worked on the first try. So I tried to shift to using setNeighbors but for some reason, it did not work just as the flip function. So I continued on using the original and long version of setNeighbors(). The most important part of this part was to update ALL the edges, half edges, vertices, and faces that are involved with this operation regardless of whether they actually changed or not. This was to ensure that I do not miss anything. Thankfully, I did not have to go through any debugging!
|
|
|
|
Part 6: Loop subdivision for mesh upsampling
Loop subdivision is important to smoothen the surface through upsampling a low res polygon mesh. The basic implementation is to split each triangle into four small ones. In detail, it is important to pre calculate the new positions for the vertices whether it's new or old. New vertices will be created on the edges, so loop through edges to calculate by the given formula. Old ones, loop through vertices (actually halfedges) to calculate as well. However, we will need the old positions for the new vertices, so save them for now in newposition for each vertex. And make sure we default all the edges and vertices to false for isNew data. After doing so, split all the edges, and make sure we update the newly created edges and vertices as true in its isNew data. You can also get the newly created vertex here so also update the position of the vertices to the newOne. We have to make sure that edges that are new should be skipped. So have a condition to skip them. After doing so, we have to flip one newly created edge for each triangle to get four equal size triangles. This you can do by going through all the edges and check that it's new and that vertex of one side is new and the other one is not. This is the one that will always need to be flipped for the perfect equal size sub triangles. After that, we can update the vertices to its new position.
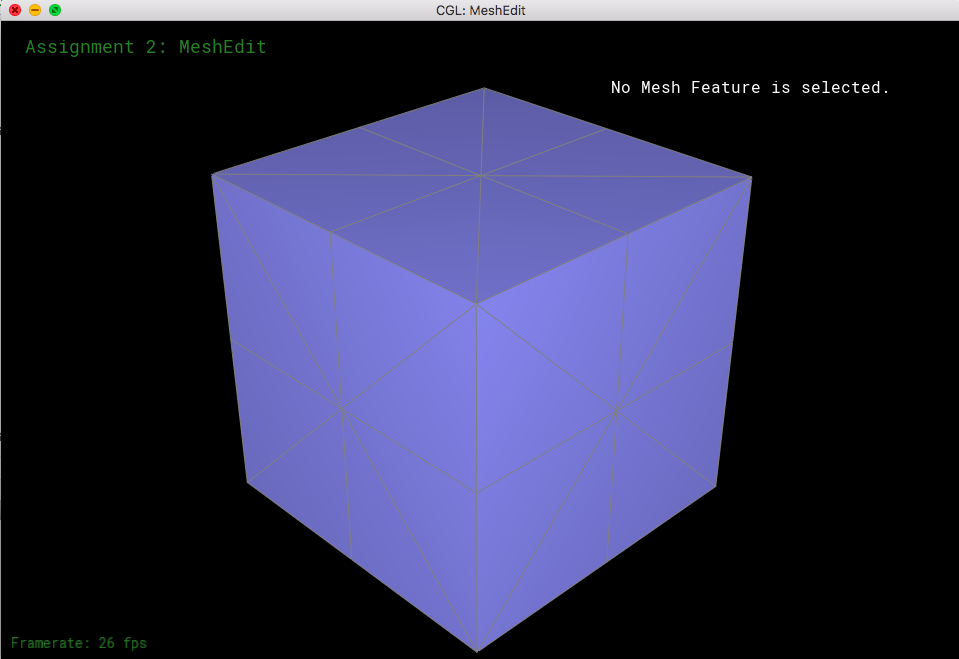
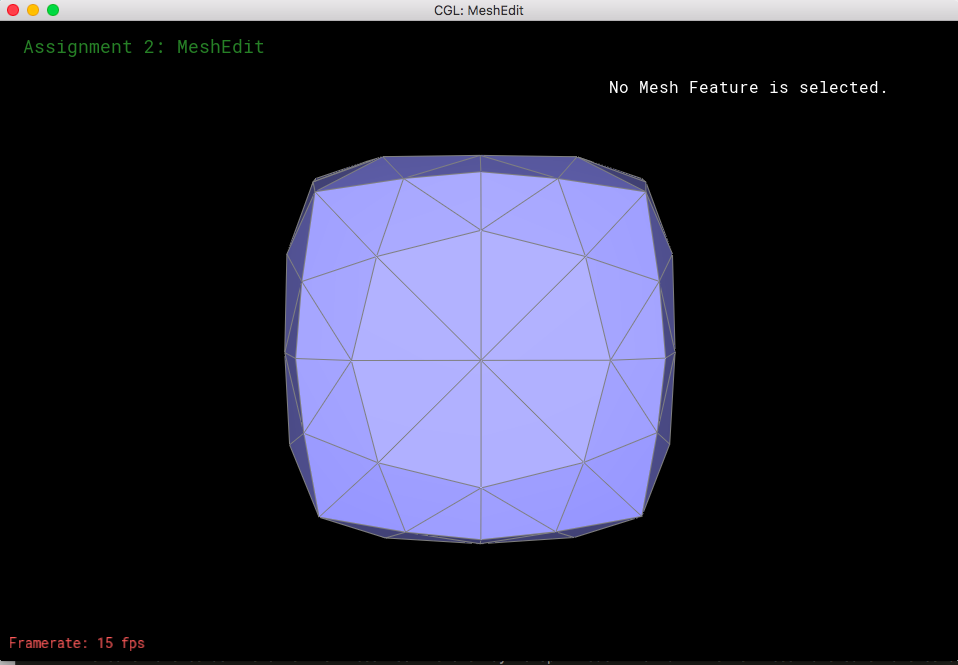
for the cube, it has sharp edges too. This can become a problem especially because it does not have the same valence as the other vertices. So the one way to split such that all the vertices have same valence before we upsampling any further. Asymmetry also happens due to this asymmetrical number of valences for all the vertices. I can divide all the triangles into smaller triangles like below beforehand to make all the vertices have the same valences and this will alleviate the effect. Of course, we can try to make the numbers approximately the same.
|
|
Section III: Shaders
Part 7: Fun with shaders
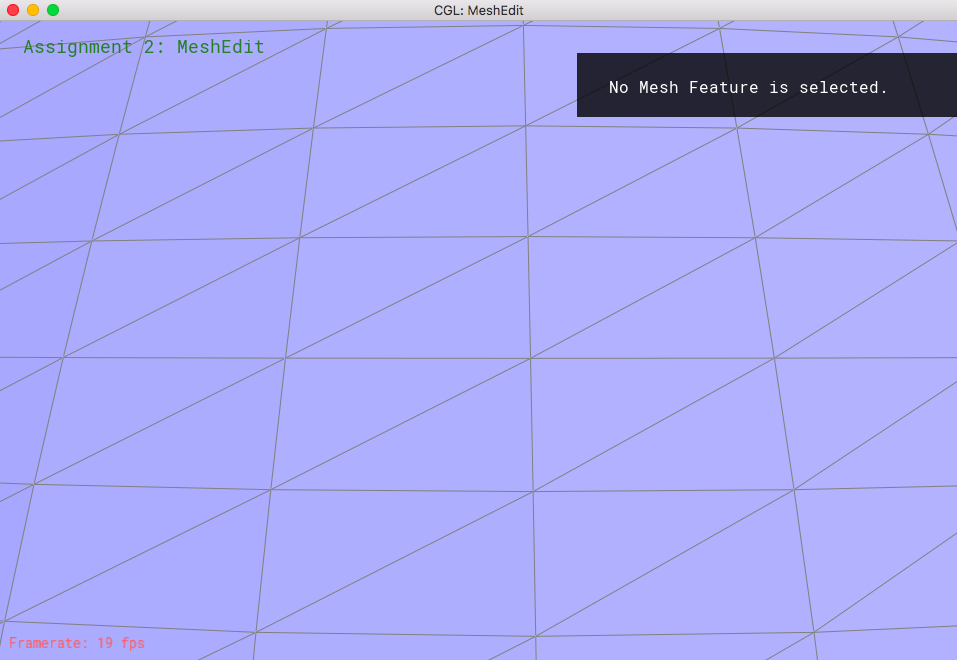
|