
Project 1: Rasterizer
Section I: Rasterization
Part 1: Rasterizing single-color triangles
Before anything else, implementing function fill_color in drawrend.h was crucial to introduce colors into this project. In doing so, I noticed that each color in existing Color class is from range 0 to 1. And the default values are 0 to 255. So I had to make sure to multiply these values to the right scale (by 255) to show the correct RGBA values that will be read to the screen. It was also very important to notice that the color variables in Color class were floats while the actual color storaged in each pixel was unsigned char (due to the fact that signed char is from -128 to 127 which means unsigned is 0 to 255). So I casted into unsigned char to match the convention of color pixel storage.
The next step was to implement rasterize_triangle function using Point-in-Triangle Test (Three Line Test). We have to make sure that each point is on the right plane for each of the edges. So first I had to generate each of the edges by subtracting one vertex point from another. Then, we need to check if each pixel point (which, in this case, is the center of the pixel +0.5 for both x and y) is inside the triangle by the line check described above. If the dot product of the point vector with each of the line is all on the correct side (>= 0) then fill in the color of the pixel to the given value using the fill_color function. Else, don't do anything.
To maximize performance, I created bounding box of the triangle by getting min max x and y values and only doing the line testing for the points that lie within the box.
Part 2: Antialiasing triangles
To produce smoother edges instead of jagged lines, antialiasing is important. I used supersampling for antialiasing. First, it was important to implement get_pixel_color in drawrend.h in order to get a better color of a pixel by averaging colors of subpixels rather than just one color for each pixel. So I iterated through each of the subpixels and totaled up the colors and divide it by the number of subpixels to get the average value.
Then, the next step was to edit rasterize_triangle to support the subpixels. In Part I, it was just about filling the whole pixel by sampling the center of the pixel. However, this time we try to test each subpixel and see if it's inside the triangle or not. Then, I fill the color of the subpixel. After doing that for every subpixel within a pixel, we use get_pixel_color to get the average value of the total pixel for antialising. If there were a lot of jaggies in Part I, this is removed with blurring out the edges (through averaging out the color) and getting a better shapes than before. Blurring out the edges of course does not eliminate the aliasing completely aas the high frequencies are hard to remove if fast changing. However, by supersampling, it gets rid of black and white distinctions between the changes and creates the grey area as well as a smooth transition among the changes by mediating/averaging the two distinct colors.
You can also see the smoothening effect in the photos below. The photo with sample rate 1 has a lot of jaggies but 16 one looks very smooth due to the blurring out the edges.

|

|

|
Part 3: Transforms
I was trying to make a waving man. So I tilted the torso as well as the head. Then I rotated both arms in different directions and also moved the legs to match the torso.

|
Section II: Sampling
Part 4: Barycentric coordinates
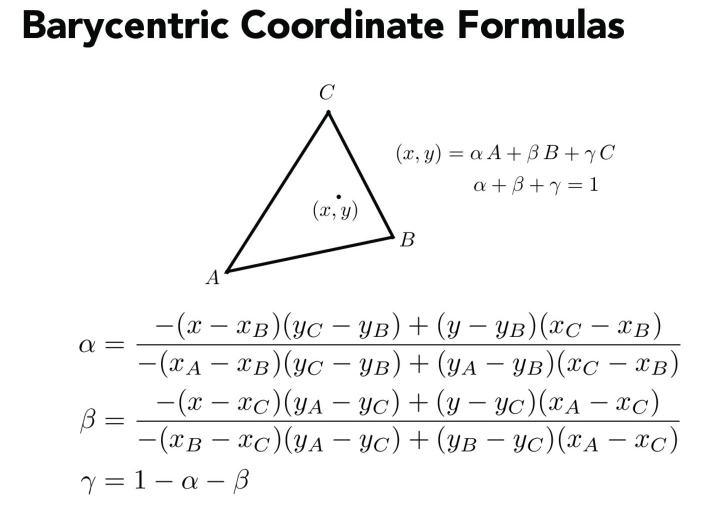
Barycentric coordinates are important in interpolating values within a triangle using the pre existing colors of the vertices. Smaller triangle across a vertex is the percentage of the color of the vertex (one of the values of alpha, beta, gamma). So at that point, we calculate the percentage of the colors and sum up all the percentage * color of each vertex and get the interpolated color of that point (Final Color = alpha * ColorA + beta * ColorB + gamma * ColorC). In the end, a triangle will be smoothly blended color triangle. So if non-NULL Triangle pointer is passed in, get the alpha, beta, gamma using the barycentric coordinates formula (proportional distance) as well as taking note that they all add to become 1.

|
|

|
Part 5: "Pixel sampling" for texture mapping
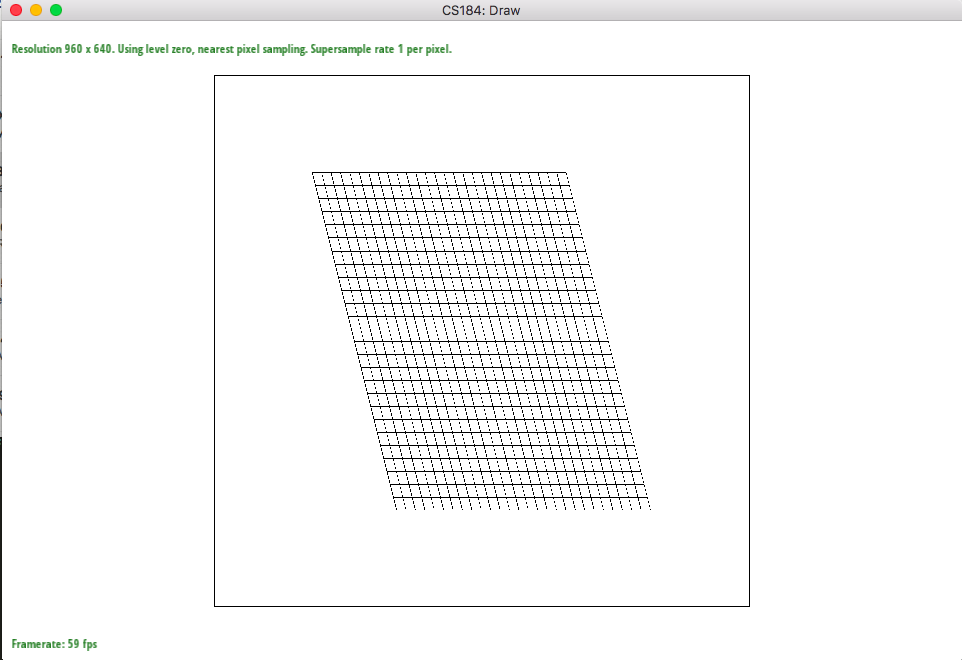
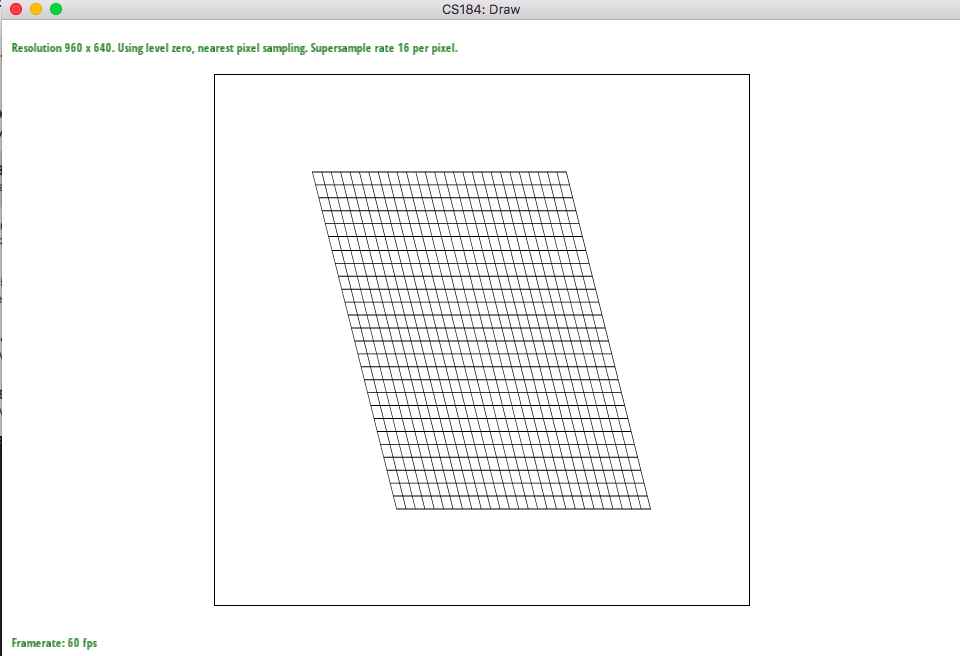
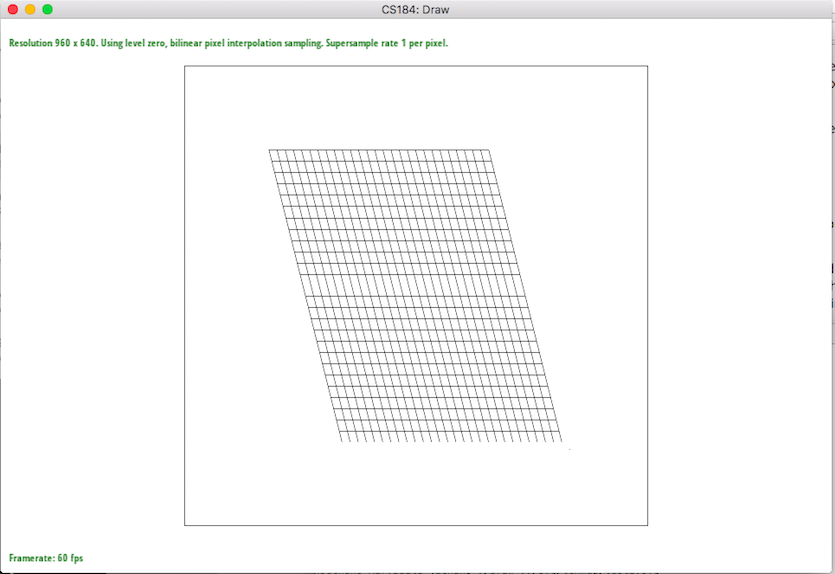
Since texture is a bitmap image itself, it has its own coordinates. Thus, it is important to evaluate the corresponding texture coordinate "texels or pixels of the texture" from the existing screen coordinate. This is the same process as part 4 in which we implemented barycentric coordinates for interpolating color values. We have to get the uv coordinates for the texture space by interpolating uv values through barycentric coordinate process. Each triangle has its vertices filled with the uv values so we just have to make sure to do interpolation. After we get the value, we sample with two types of sampling: nearest and bilinear. Nearest pixel is the uv value that is approximated into nearest pixel value and we just have to get the color value from the textual space. However, bilinear is four nearest pixels in which we get the weighted color value depending on the nearness of the pixel to the actual uv point that we got.
|
|
|
|
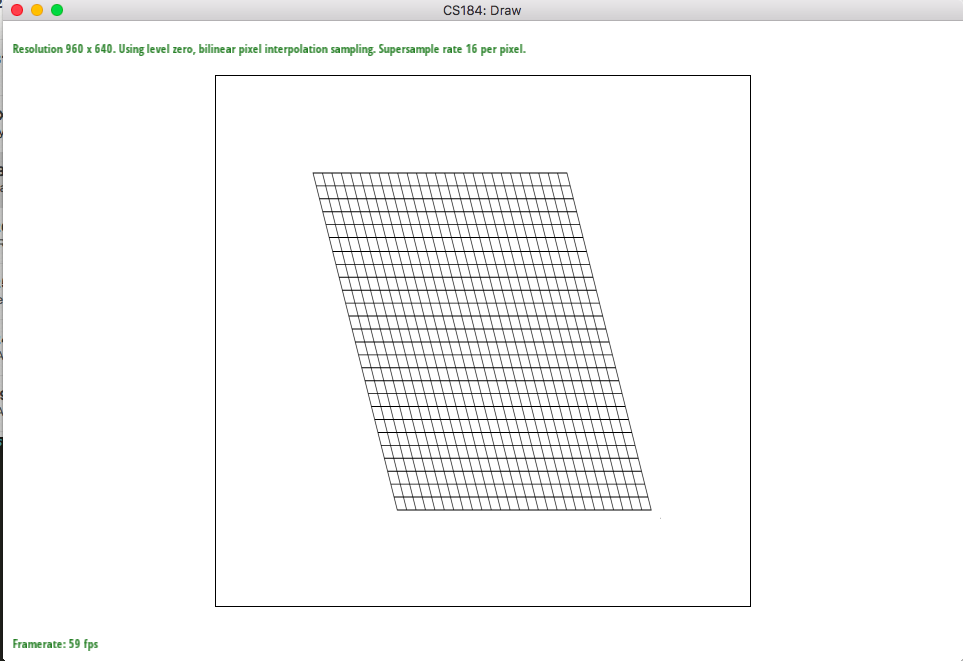
The big difference is when there is a change like the lines inside the parallelograms. The lines are jagged but by blurring, bilinear sampling have gray values that surround the lines making the picture look more smooth while nearest sampling have jagged lines still because aliasing happens by ignoring the true values. Of course, both sampling types have smoother lines when looking at supersampling at 16. However, bilinear sampling has much better picture with smooth looking lines.
Part 6: "Level sampling" with mipmaps for texture mapping
Level sampling is important since the texture is not likely to be always one to one with the given sample space. Not only that, it will be much faster to already do sampling prior to doing all the work to save time. Sometimes, different resolutions look better in different levels so it is better to simply get whichever level works the best right away instead of calculating the whole level repeatedly. So this worked the same as Part 5 but with levels instead of texels. So I had option of nearest or bilinear + linear (trilinear ). So it's just using already implemented nearest and bilinear sampling. The critical part was to calculate the level. After calculating barycentric for each of dy, dx x and y's for each of the x,y, we determine the closeness these values in the original textual space and take the log2 to get the level since each level is power of 2. Everything else was straightforward but trilinear, I had to make sure to bilinear close levels and then do linear interpolation (using the nearness of level to the non-integer level that we got).
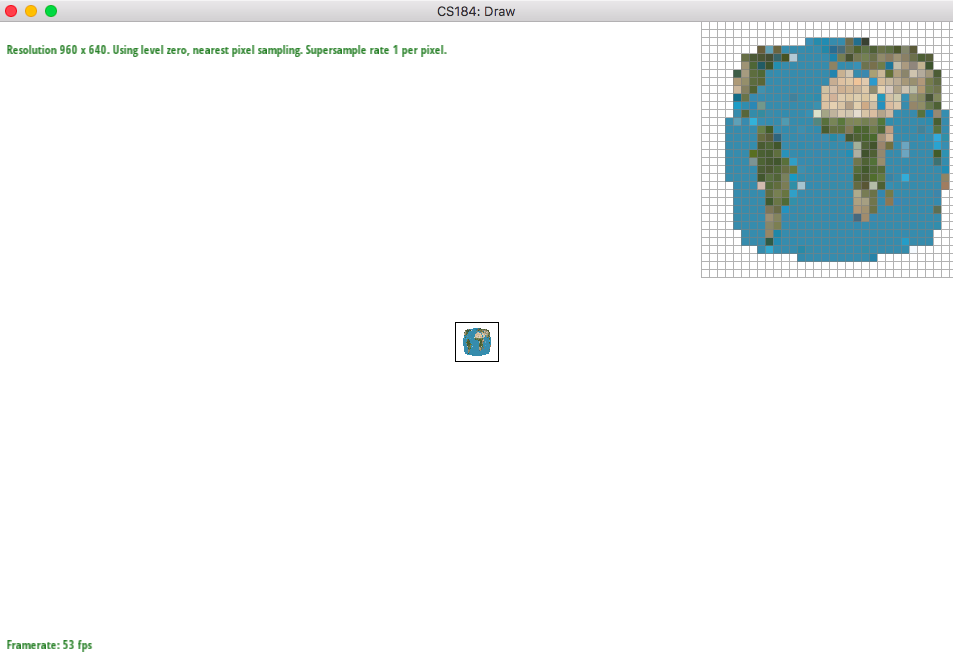
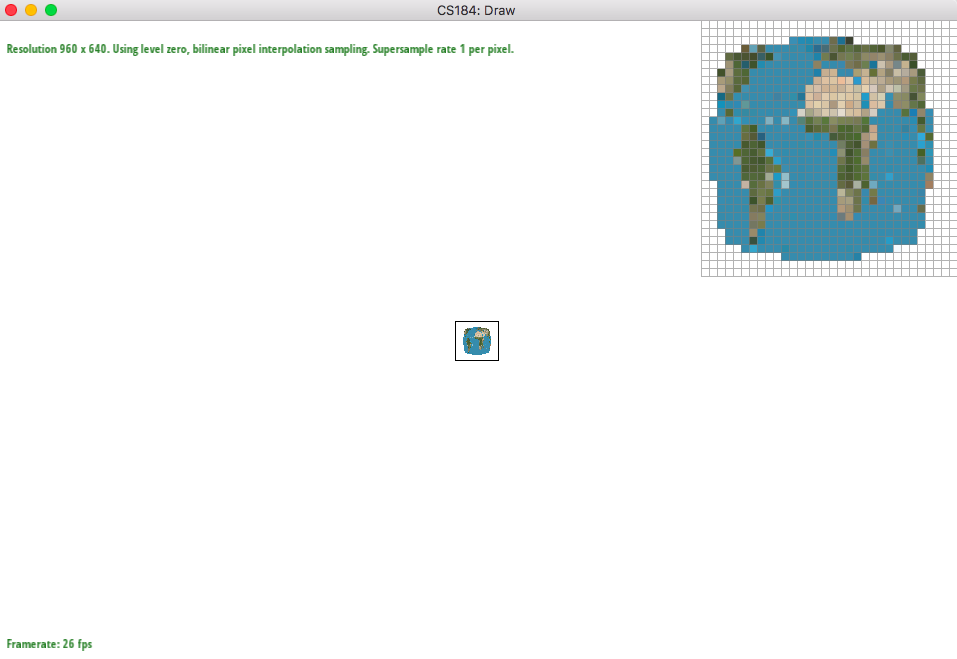
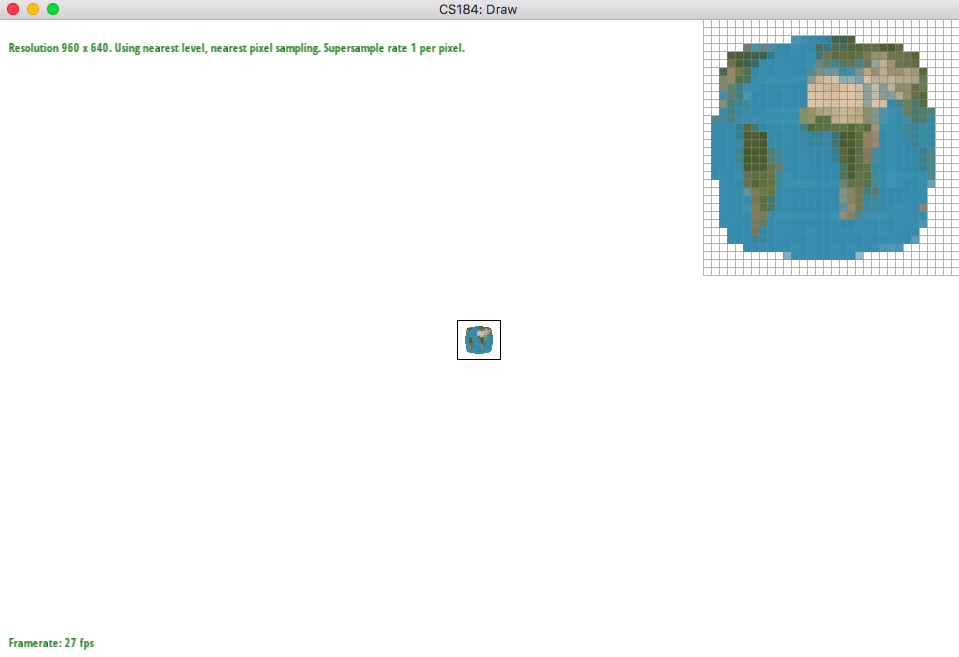
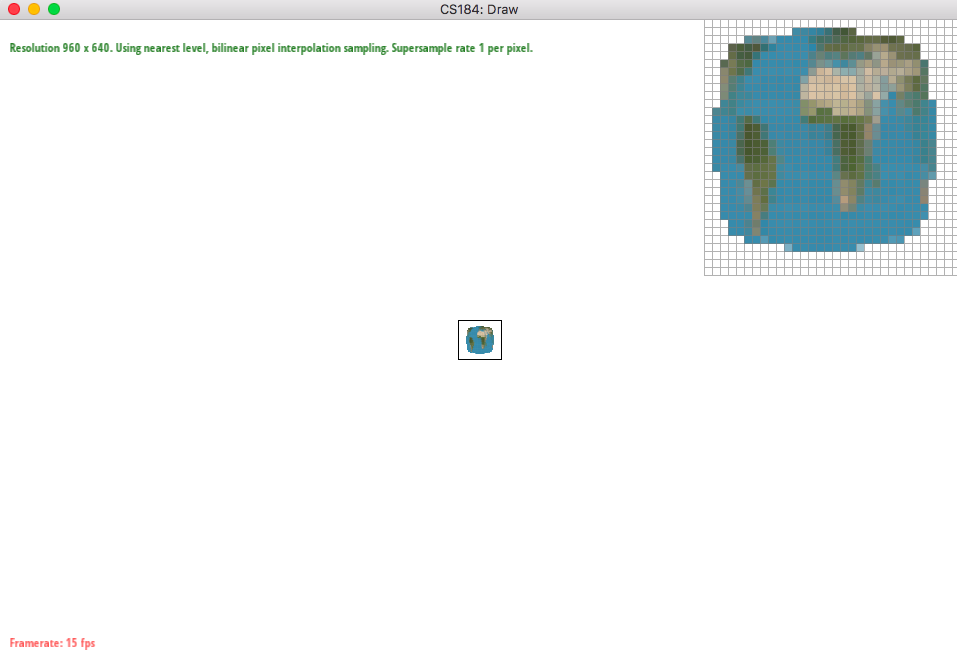
Of course, as you go up the number of samples per pixel, it takes more time to slow down, however antialiasing is greater. We will definitely use more memory by storing all the colors in the samplebuffer of each pixel samplebuffers. By doing level sampling, we can choose to blur more depending on the size that we need to make a better antialiasing. Speed is relatively the same as pixel sampling since we are only grabbing whatever is already calculated, although for trilinear sampling, we are doing more reads. Of course, by having level sampling, we have to store extra levels but to get the antialiasing power, it is worth using more memory. When zooming into the zoomed out pictures below, it is clearly visible that bilinear sampling is more blurry. However, zoomed out pictures look good at that zoomed level.
|
|
|
|
